
Practical advice · Real experience
How to Use a Tyre Inflation Kit
A compressor-and-sealant kit can make some small tread-area punctures temporarily mobile. It can’t repair every puncture, and the condition of the tyre and roadside location decide whether using it’s sensible.
Check the location and tyre before opening the kit. Sidewall damage, a torn or displaced tyre, a damaged wheel or a tyre driven flat may be beyond sealant. Follow the exact kit instructions for connection, pressure, operating time and the required recheck; if pressure won’t build or falls again, stop and call for assistance.
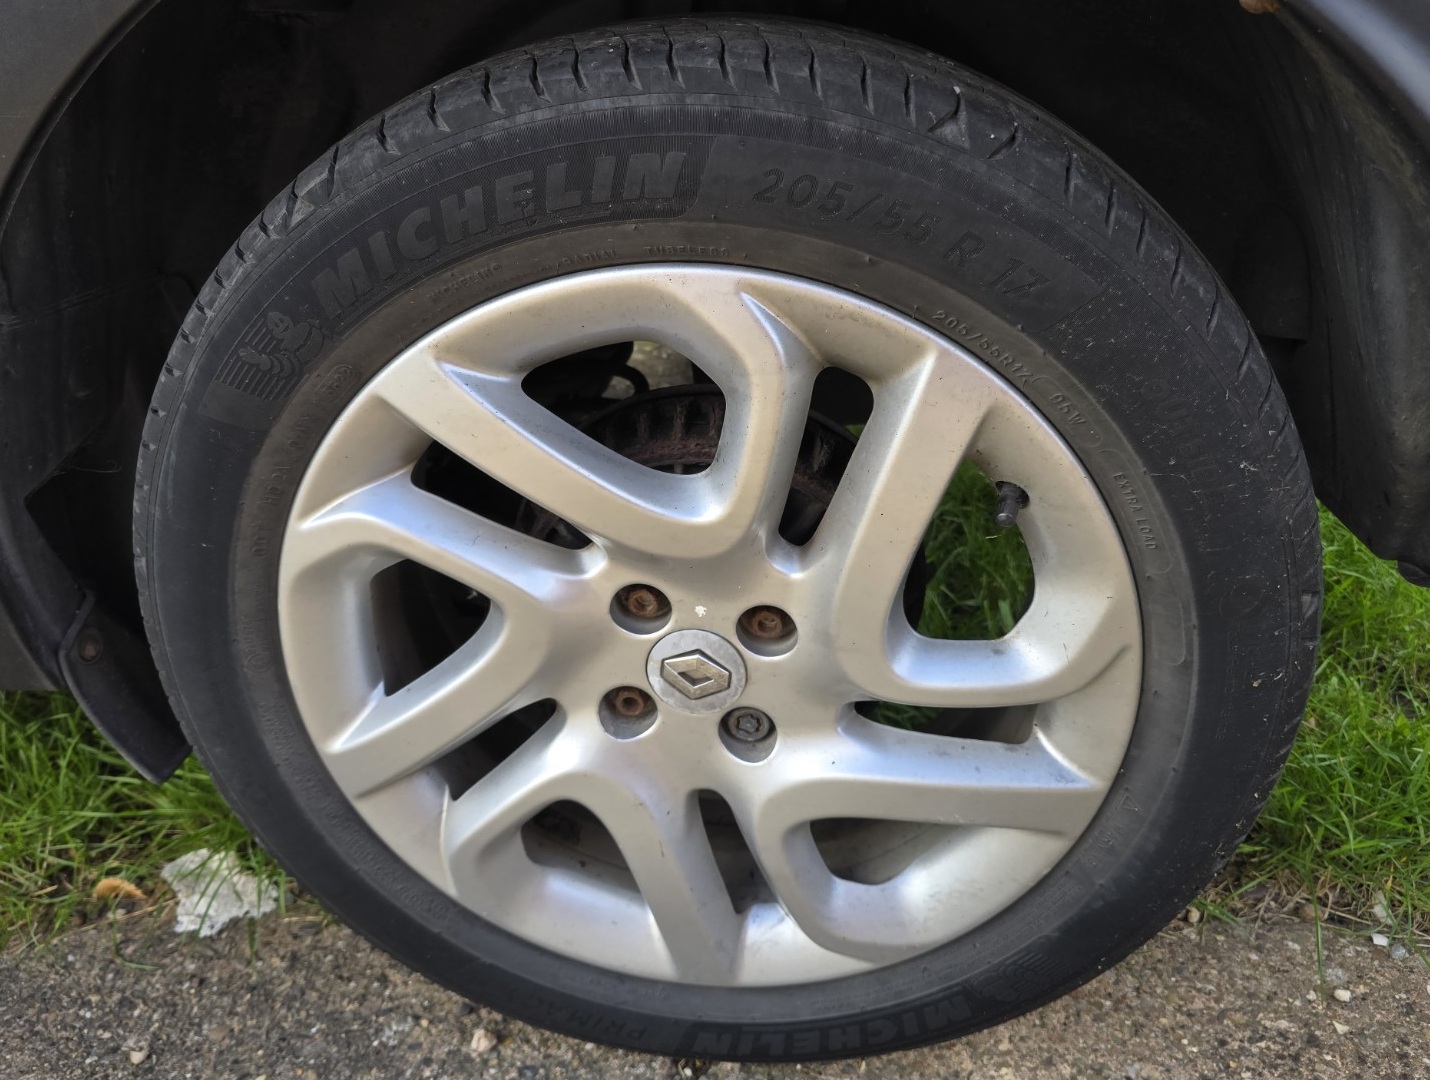
What a tyre inflation kit contains
A typical kit combines a small compressor, sealant bottle or cartridge, hose and a power connection. Some feed sealant automatically; others require a separate step. Controls, connections and warning labels vary substantially.
Use the instructions supplied with that kit and vehicle. Don’t assume a sequence remembered from another car will apply.
Check the roadside location first
Don’t work beside fast traffic, in a motorway live lane, on a dangerous slope or where you can’t remain safely separated from vehicles. Move to a safe place only when the car can be moved without creating more risk.
If the location is unsafe, contact roadside assistance. The kit can’t make the roadside safe.
Not every puncture can be sealed
Temporary sealant may suit certain small punctures in the tread area. It may be unsuitable for a large hole, split or torn tyre, sidewall damage, a tyre separated from the rim, a damaged wheel or a tyre that has been driven flat and suffered internal damage.
Don’t judge a visibly damaged tyre by whether the compressor can force some air into it. If the structure may be compromised, stop.
Inspect before using sealant
Look for obvious sidewall cuts, bulges, splits, a large hole, rim damage or a bead no longer seated correctly. Use a torch if needed, but keep yourself away from traffic and don’t put any part of your body under the vehicle.
Don’t remove a large embedded object unless the kit or vehicle instructions specifically tell you to. Pulling it out can make the air loss worse.
Follow the instructions for that kit
Connect the hose, sealant and electrical supply exactly as described. The engine-on or engine-off requirement, power socket, valve connection and sealant path can differ. Inflate only to the stated pressure and observe the compressor’s maximum operating time.
There’s no safe universal pressure or connection sequence for every kit. Read the label and handbook before switching the compressor on.
If pressure will not build
Stop if the tyre doesn’t reach the required pressure within the time stated by the kit. Don’t run a small compressor indefinitely or keep adding sealant.
Failure to build pressure can mean the damage is too large, the tyre is off the rim, the wheel is damaged or the kit isn’t working. Arrange assistance.
Treat it as a temporary repair
Sealant and inflation normally provide a temporary route to a tyre specialist, not a permanent repair. Follow the speed, distance and vehicle-use limits printed on the kit, label and handbook.
Don’t invent a universal limit. Different systems and vehicles specify different restrictions, and some failures shouldn’t be driven on at all.
Recheck pressure after the initial drive
Many kits require a pressure check after travelling a specified short distance so you can see whether the tyre is holding air. Follow that exact instruction and stop somewhere safe for the check.
If pressure has dropped significantly, the repair hasn’t worked reliably. Stop driving and obtain assistance rather than repeatedly reinflating it.
Check the sealant expiry date
Sealant cartridges have expiry dates and can become ineffective. Check the date periodically and replace the cartridge with the correct item when required.
A working compressor paired with expired or missing sealant may not provide the emergency option you expected. Also check that the hose, plug and instructions remain with the kit.
Tell the tyre specialist sealant was used
Tell the repairer exactly what product went into the tyre. The tyre and wheel may need cleaning, and the valve or tyre-pressure monitoring components may require inspection or service.
Whether a permanent repair is possible depends on puncture position and size, tyre condition and any structural damage. Leave that assessment and repair to a competent tyre professional.
Check the kit before you need it
When buying or owning a car without a spare, confirm that the compressor and correct sealant are present, the cartridge is in date and the kit can be powered from the vehicle. Check any towing eye and locking-wheel equipment at the same time.
This small ownership check is easy to miss until a puncture turns a missing bottle or dead compressor into a recovery call.
If your car carries a spare instead, read How to Change a Spare Wheel Safely. The tyre condition guide covers tread, sidewalls, age and wear.
Useful within its limits
Keep the kit complete and understand its limitations before relying on it. It can be a practical temporary answer to the right puncture in a safe location.
For damage, equipment or conditions beyond those limits, use roadside assistance rather than trying to make the kit solve a job it wasn’t designed for.