
Practical advice · Real experience
How to Photograph Your Car Properly
Good photographs let a buyer understand the car before they contact you. This guide shows the angles, details and honest condition photographs I would include in a private-sale advert.
Photograph a clean car in even daylight, keep the camera level and work through a repeatable shot list. Show the whole car first, then the interior, useful details and any damage a buyer will see when they arrive.
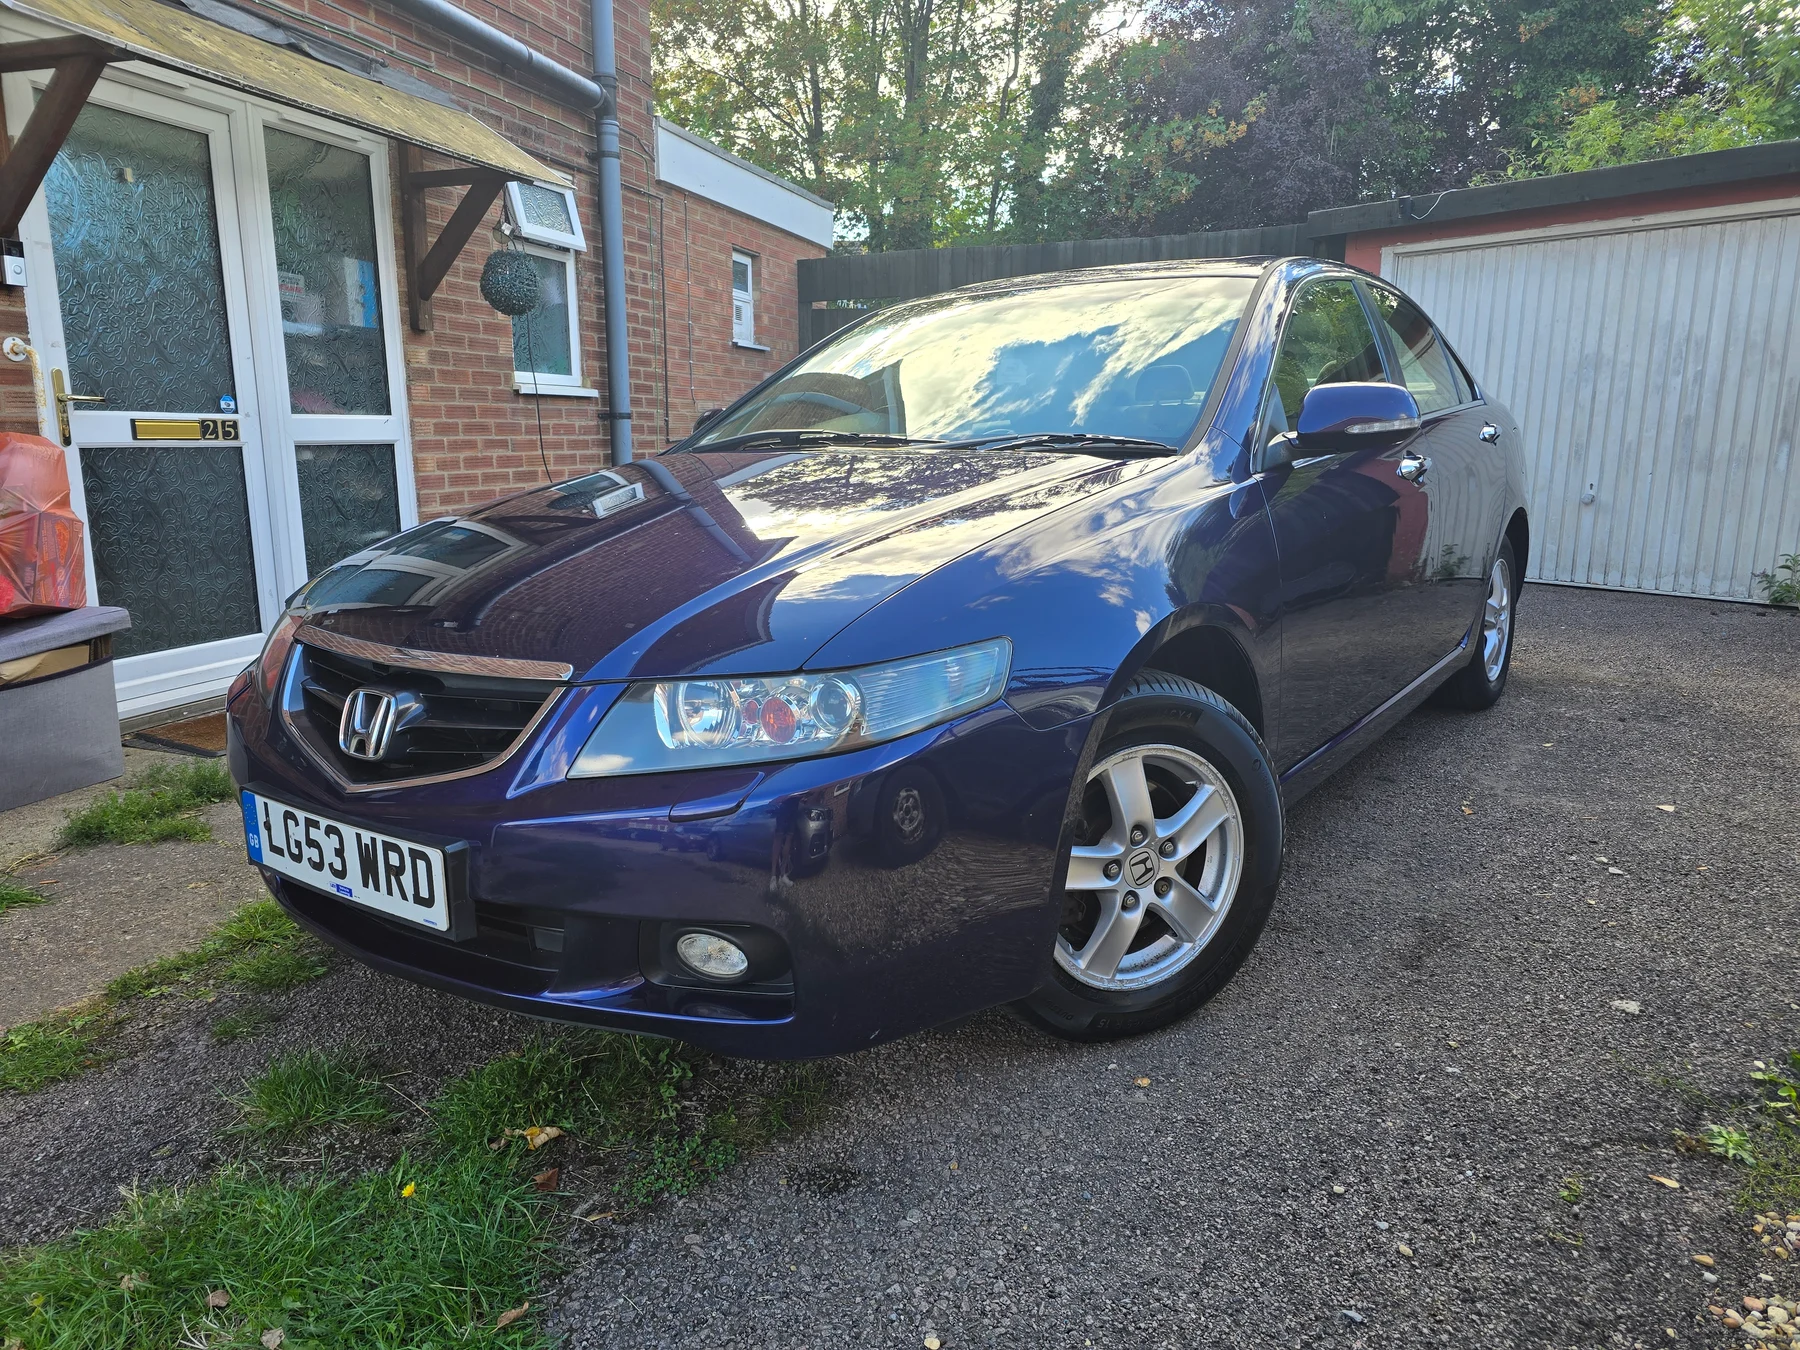
Prepare the car and the setting
Wash and dry the bodywork, clean the wheels and glass, vacuum the cabin and boot, then remove the everyday clutter. You don’t need concours preparation; you need a car that’s easy to judge.
Choose a safe place with an uncluttered background and enough room to step back. Soft daylight matters more than expensive camera equipment. Clean the phone lens, avoid harsh midday glare and leave a little breathing room around the car.
The core exterior shot list
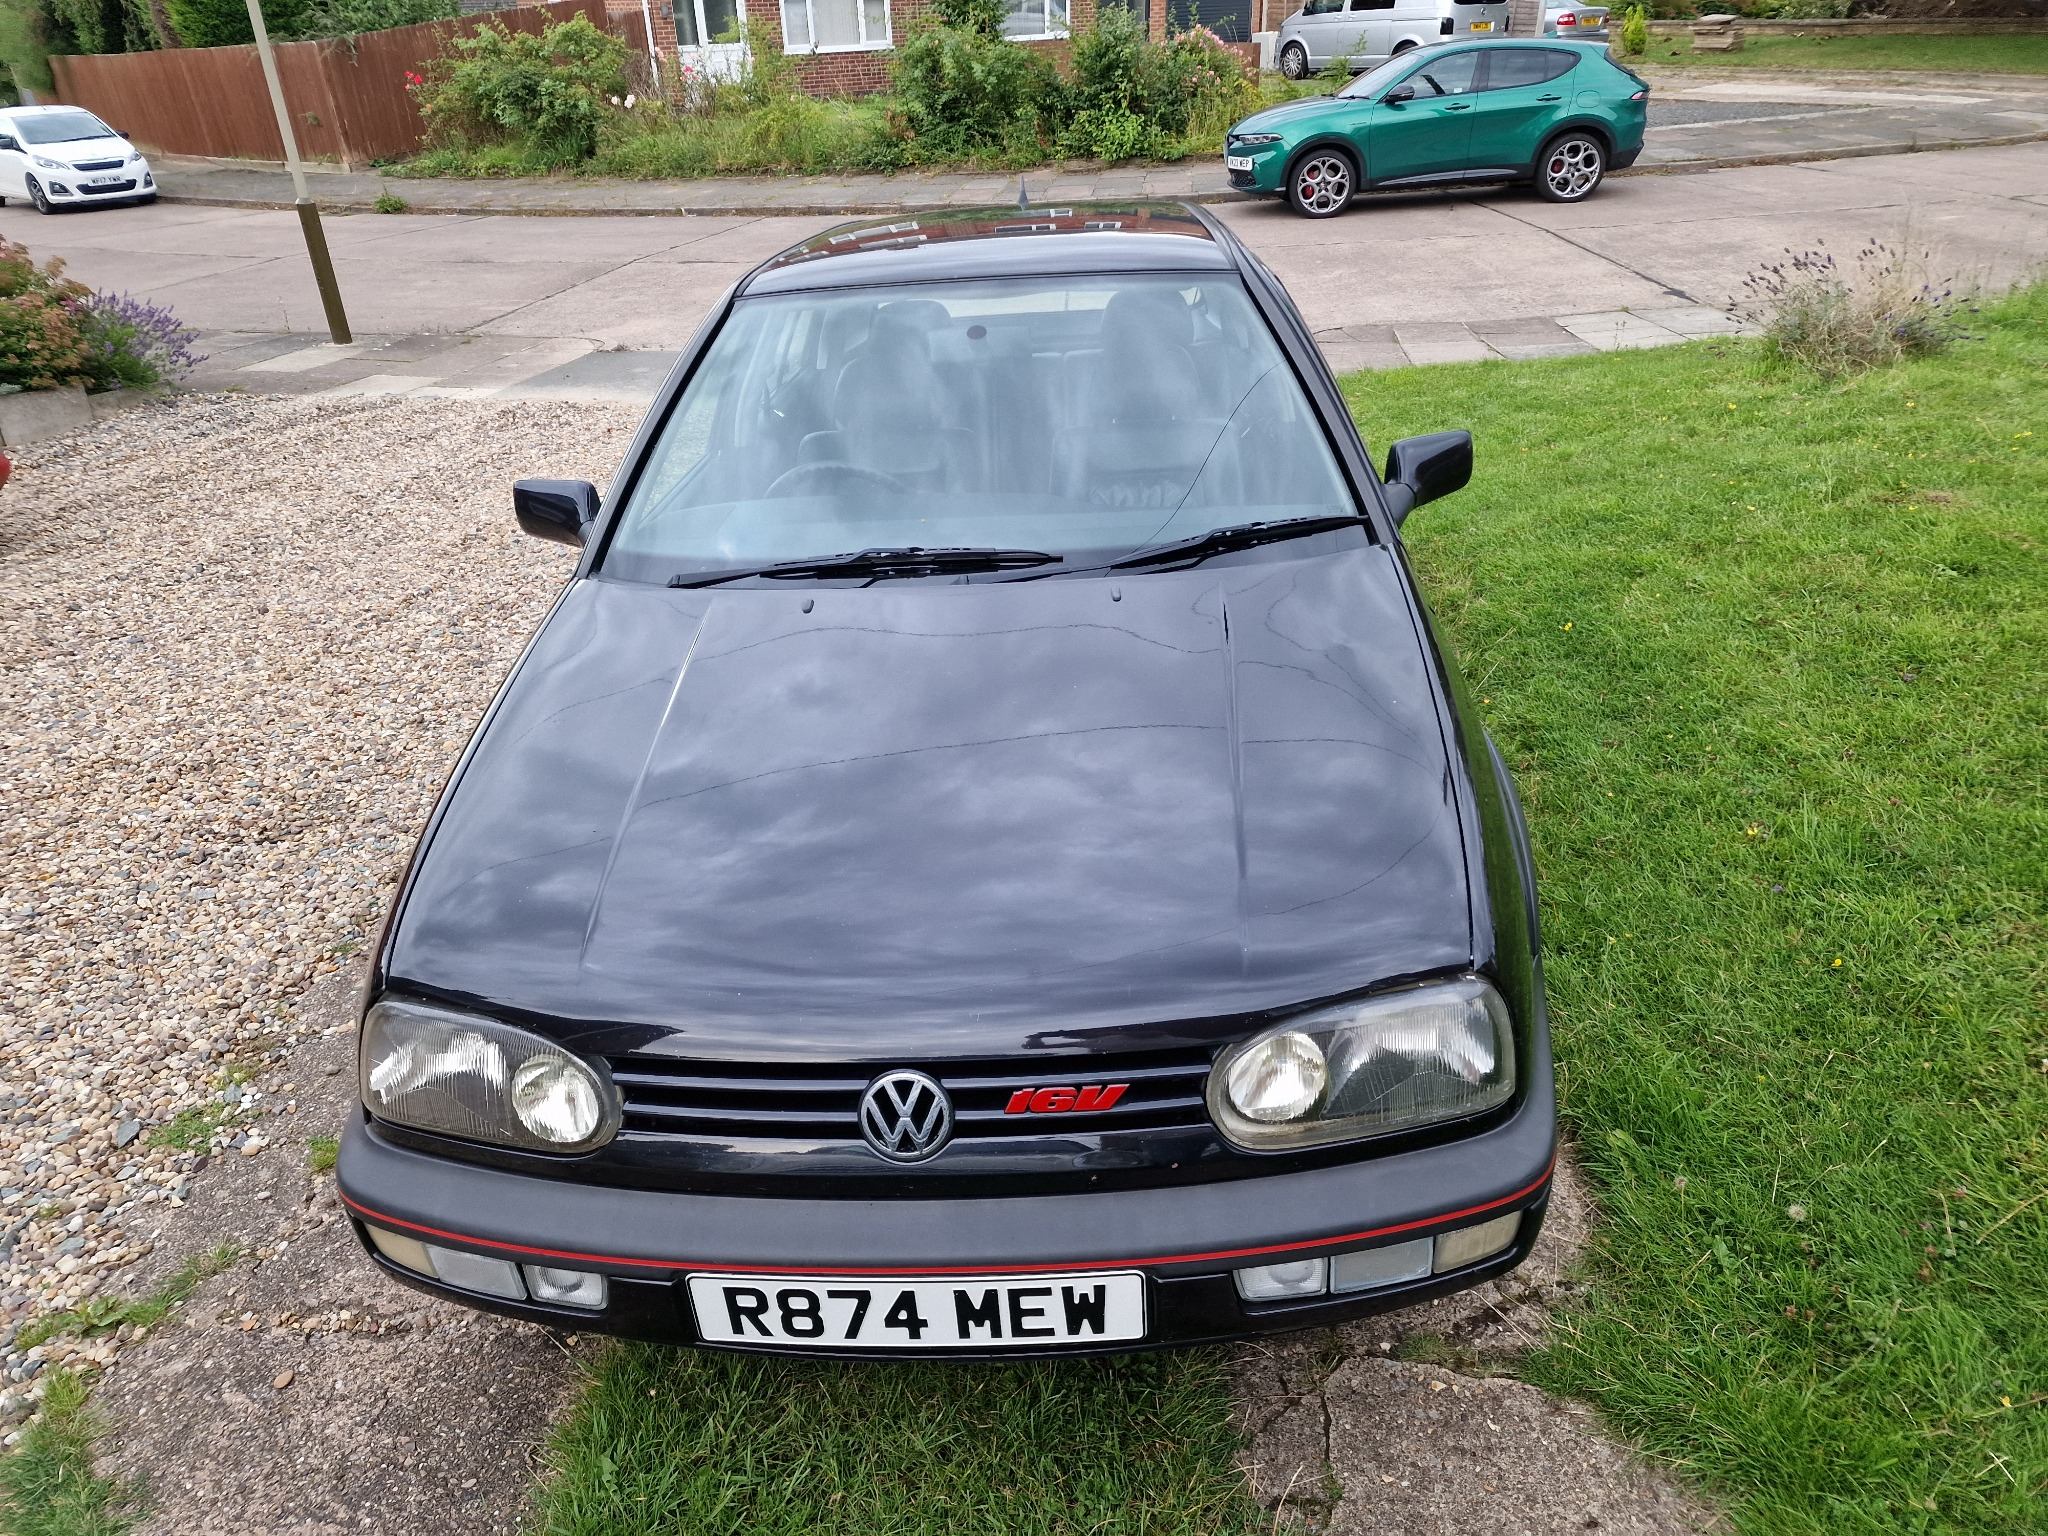
Start with the views that let a buyer understand the whole car. Keep the camera around waist or chest height, use the normal lens rather than an ultra-wide setting and avoid cutting off bumpers, wheels or the roof.
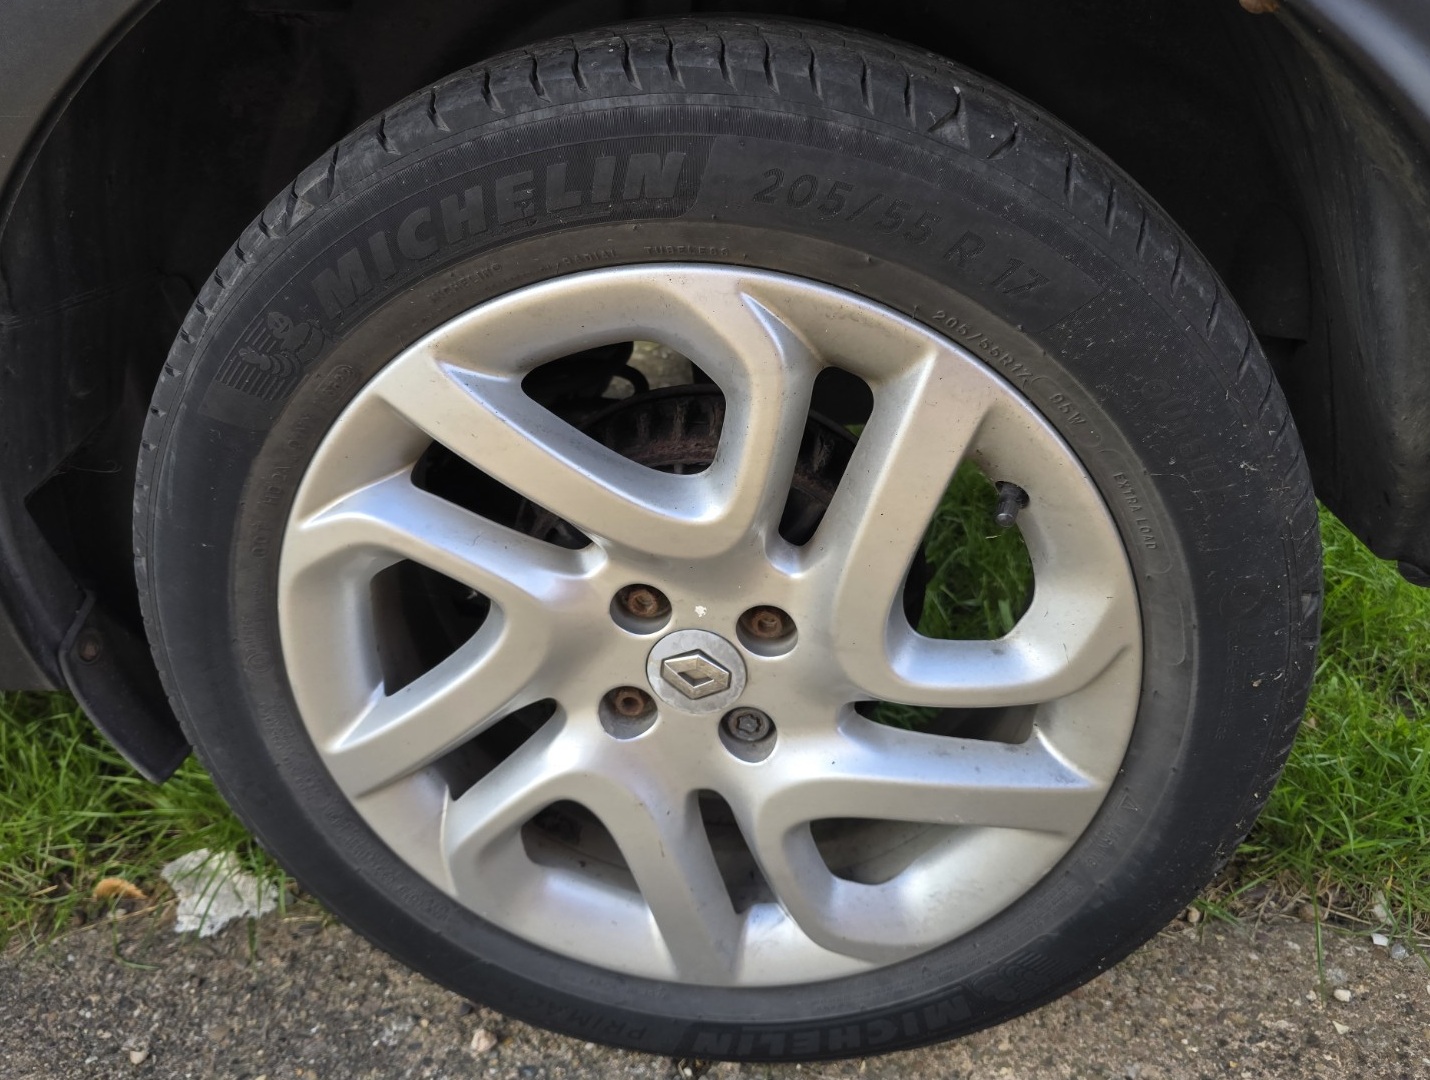
Take straight-on front and rear views as well as the angles below. Photograph both sides even when they look identical, then add a clear view of each wheel and tyre.
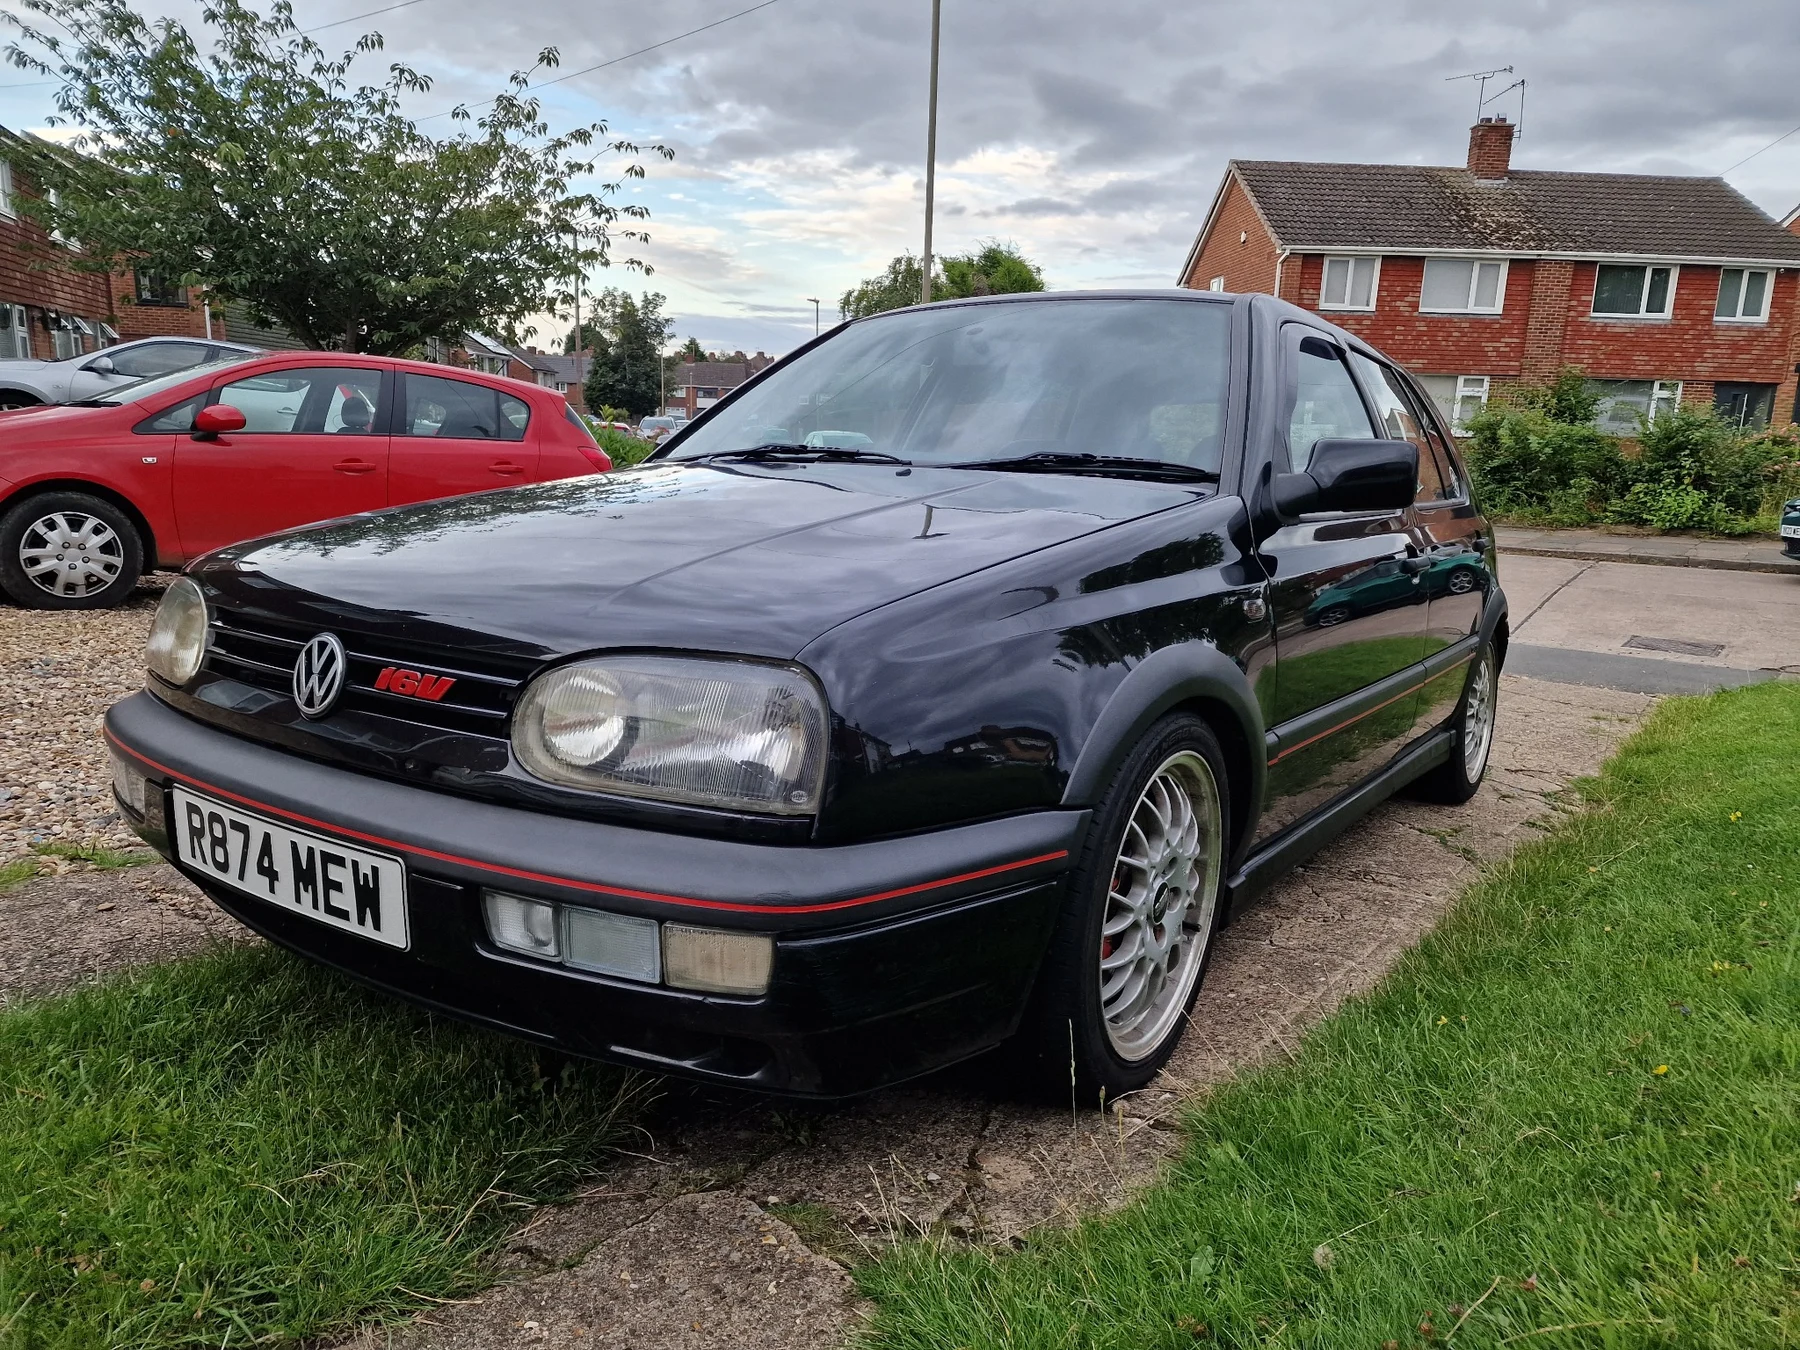
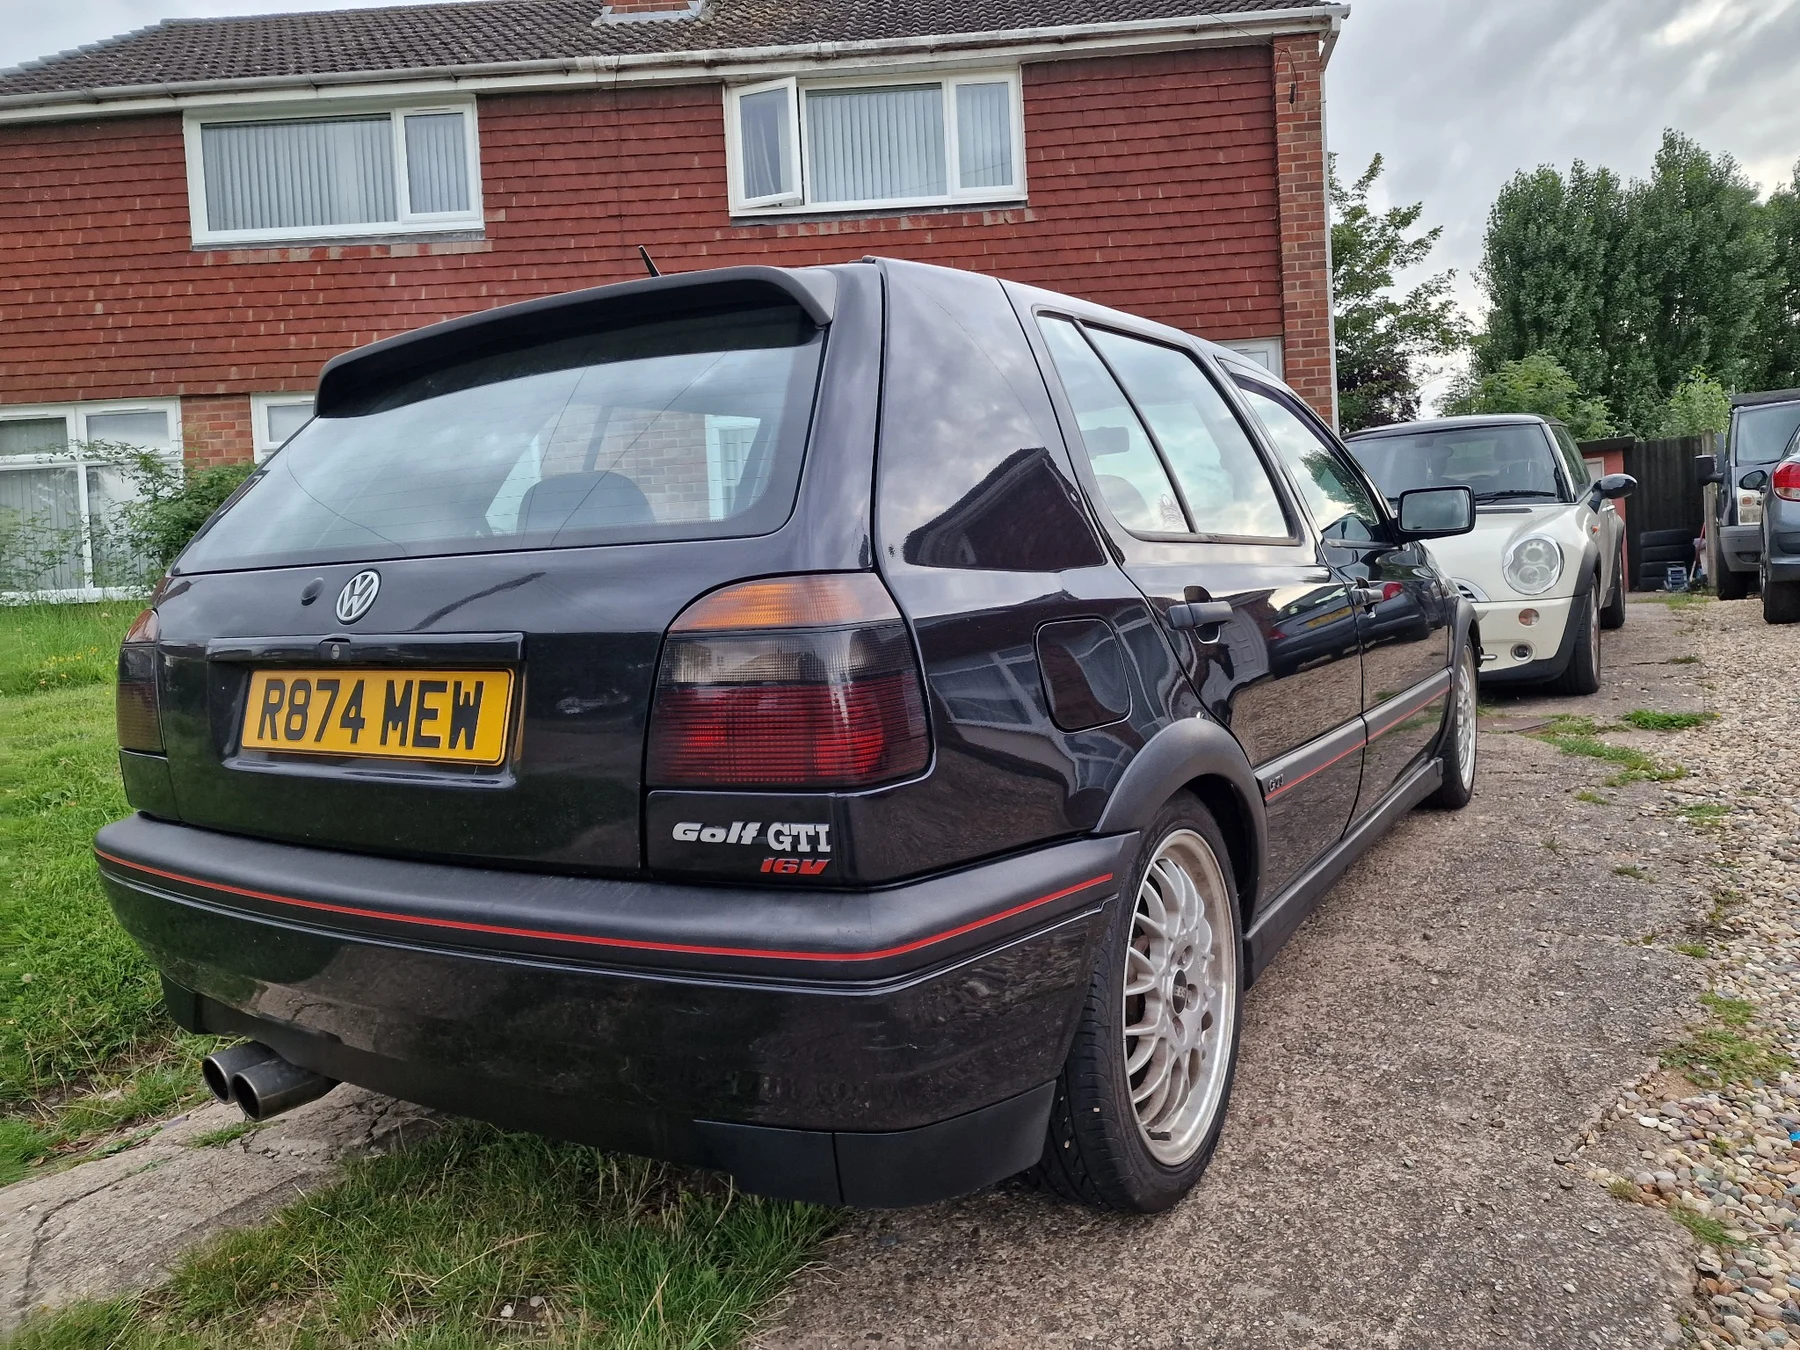
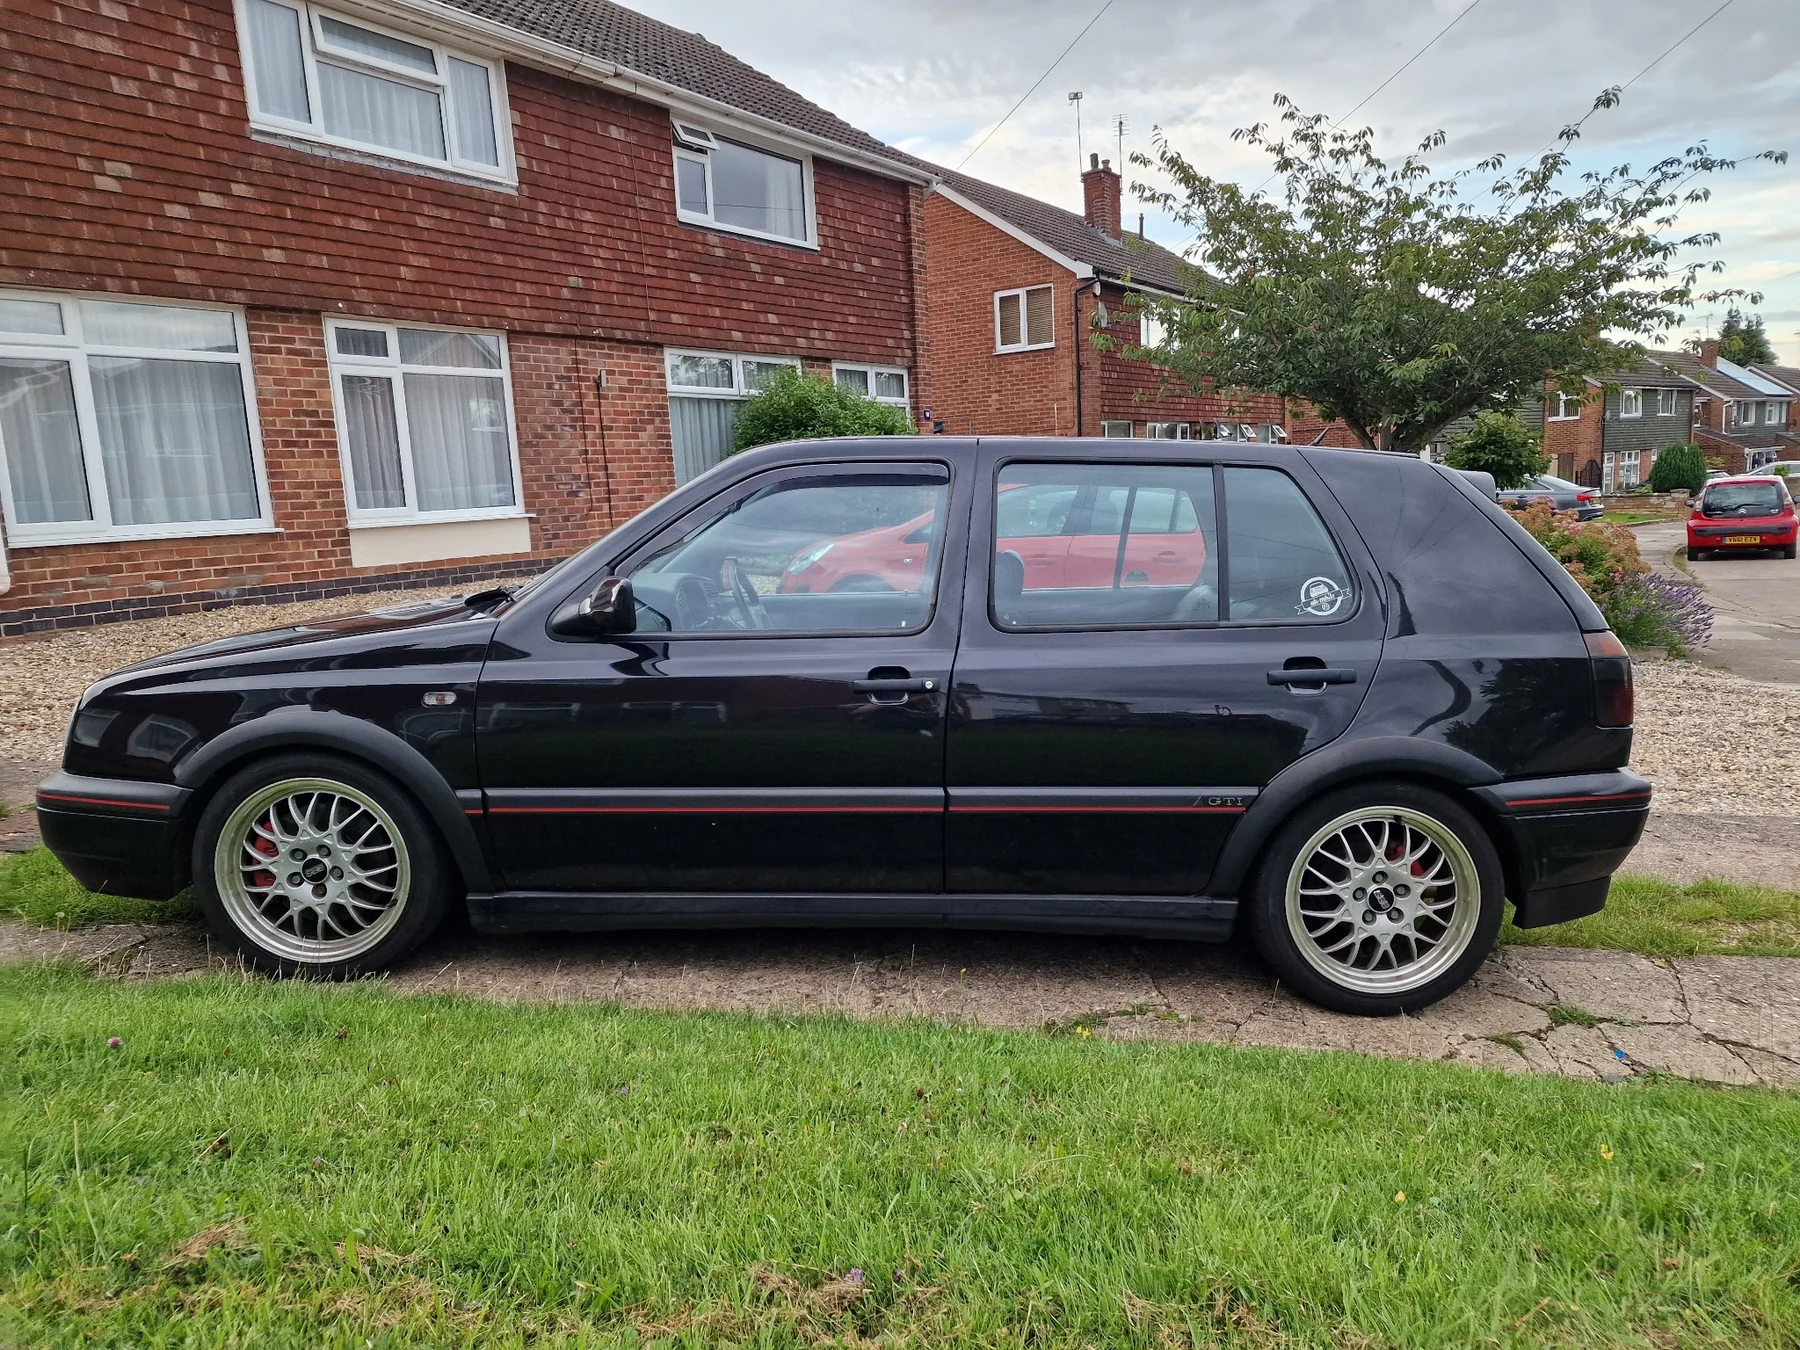
Interior and useful detail shots
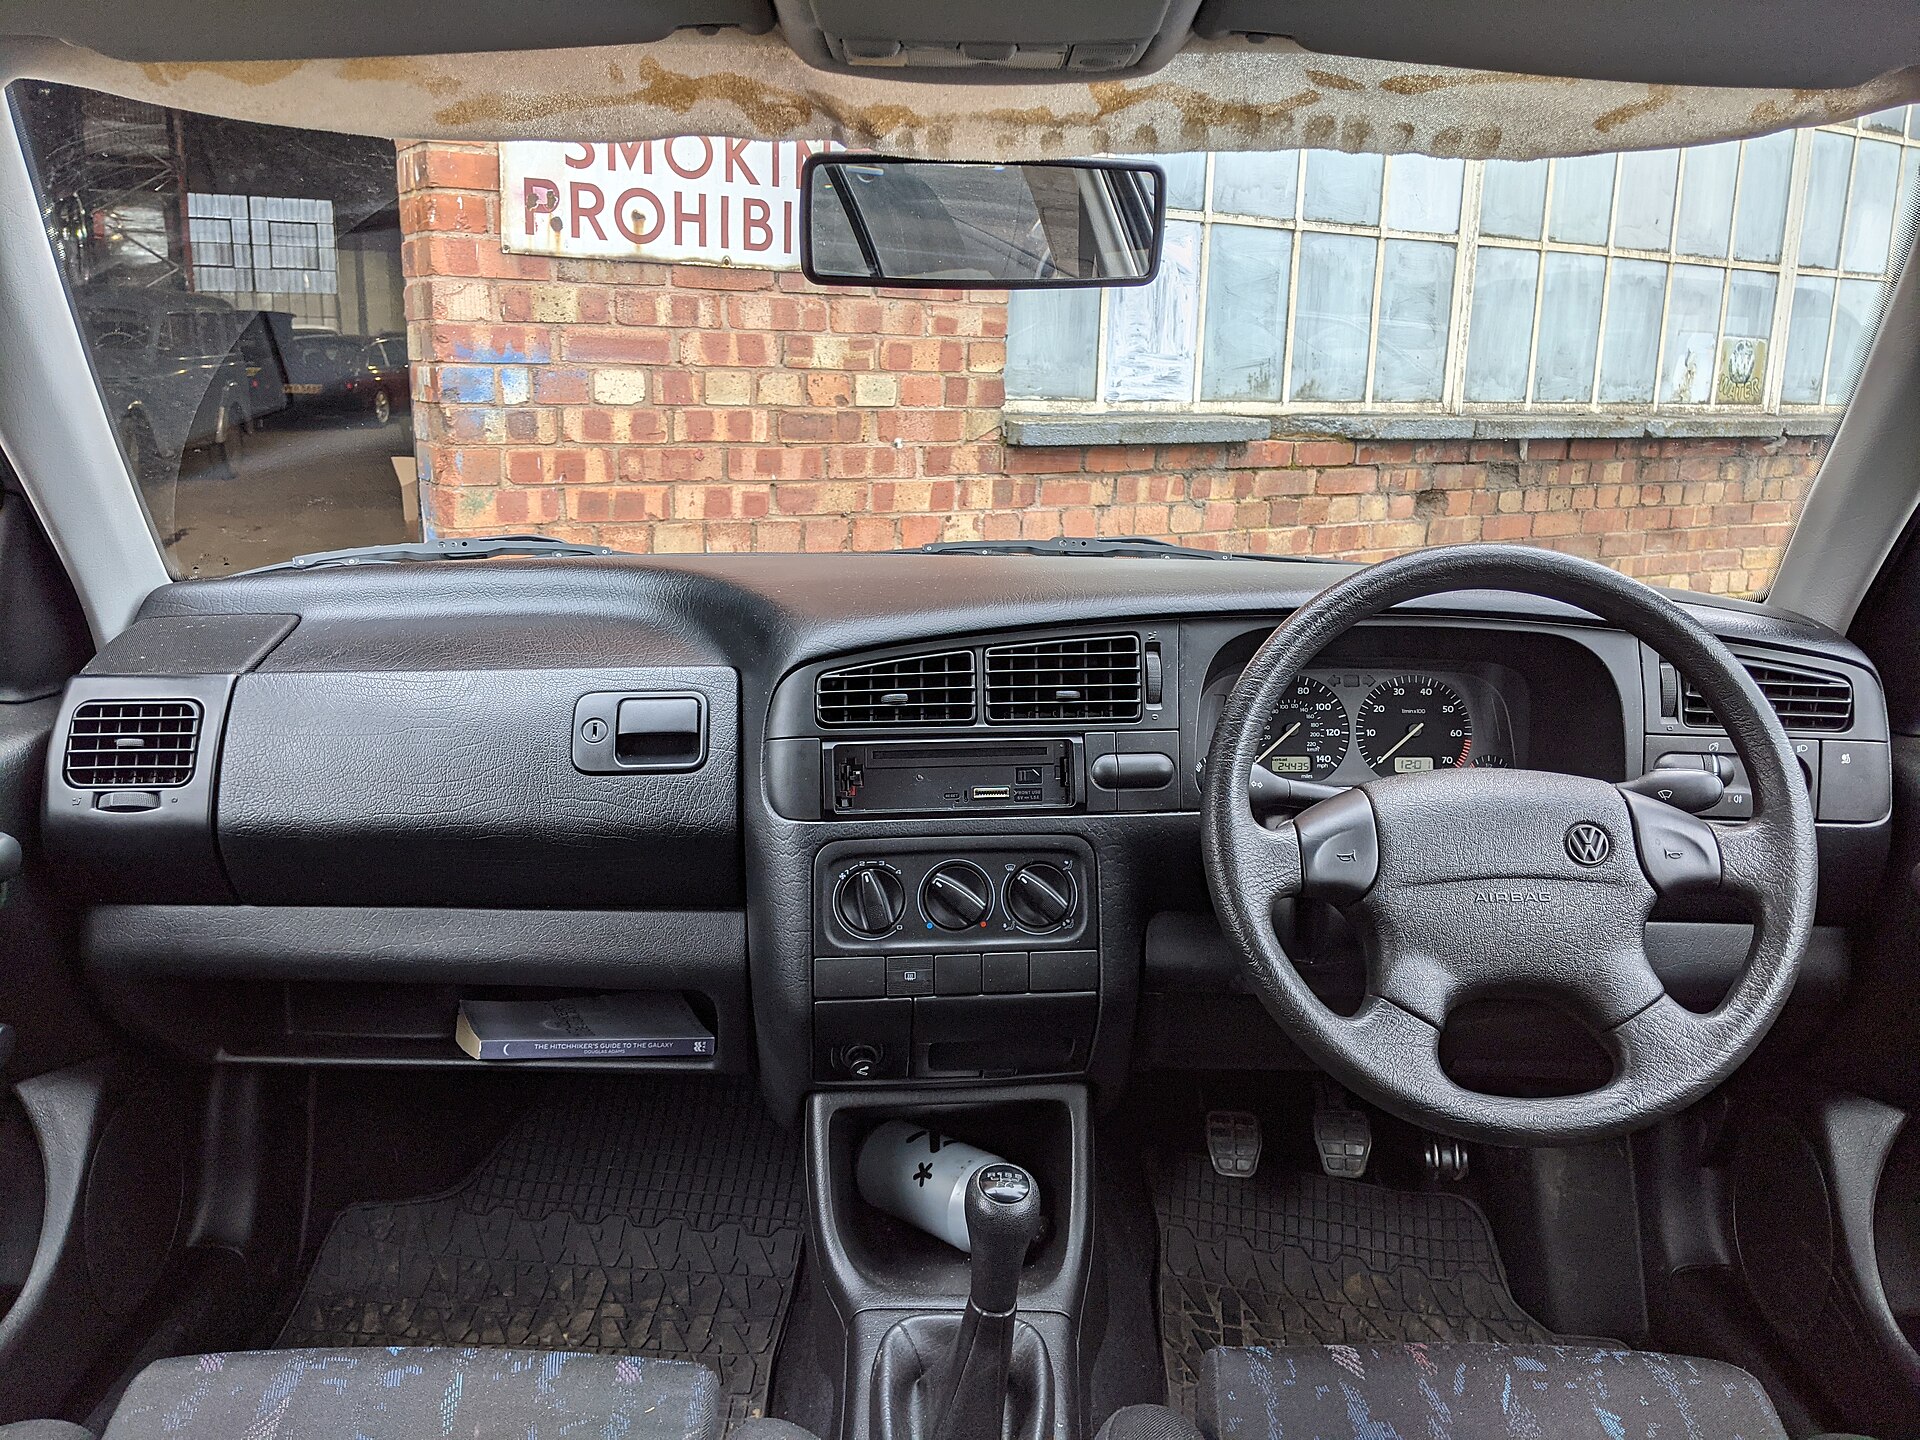
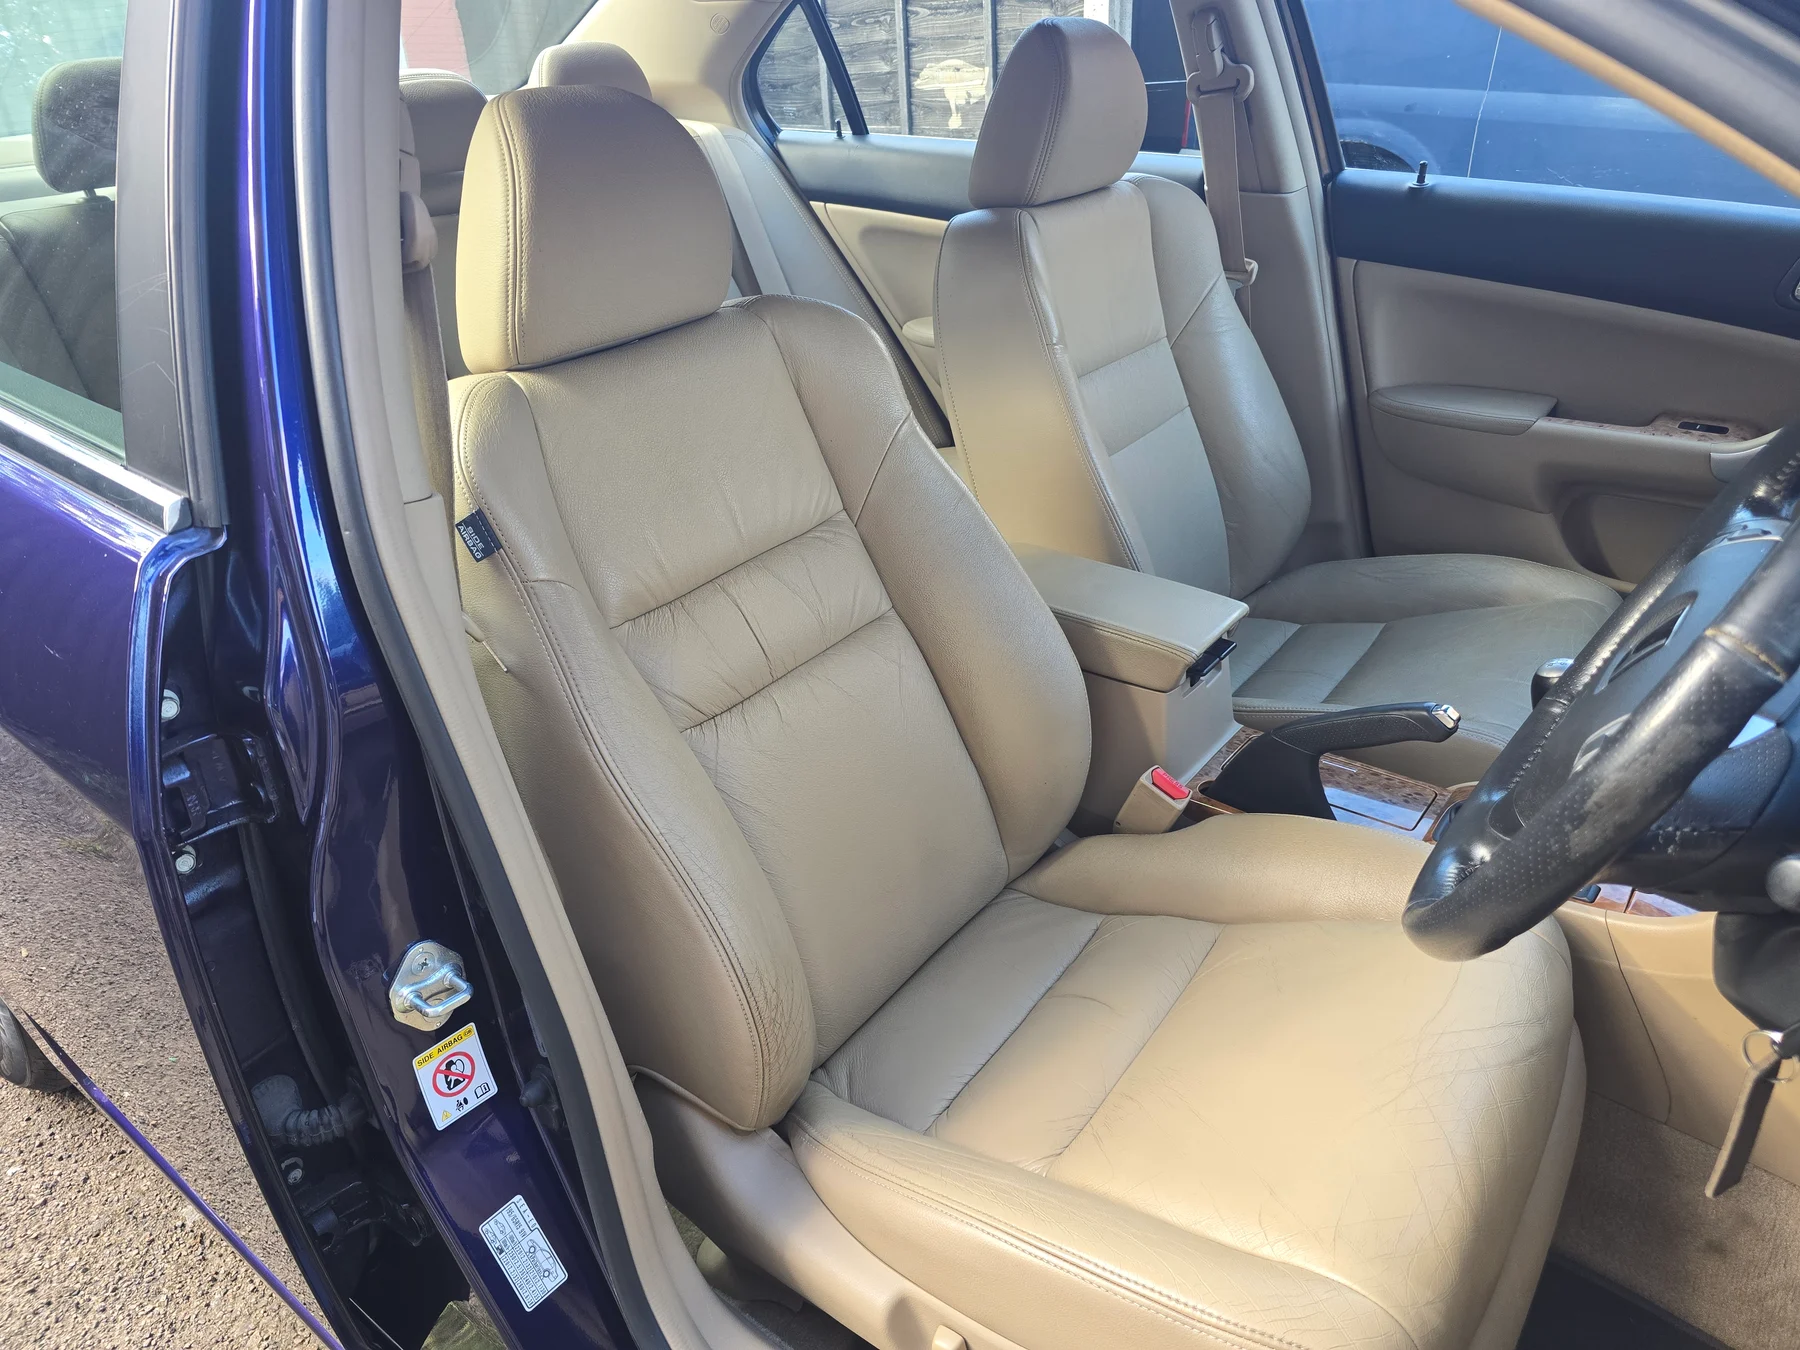
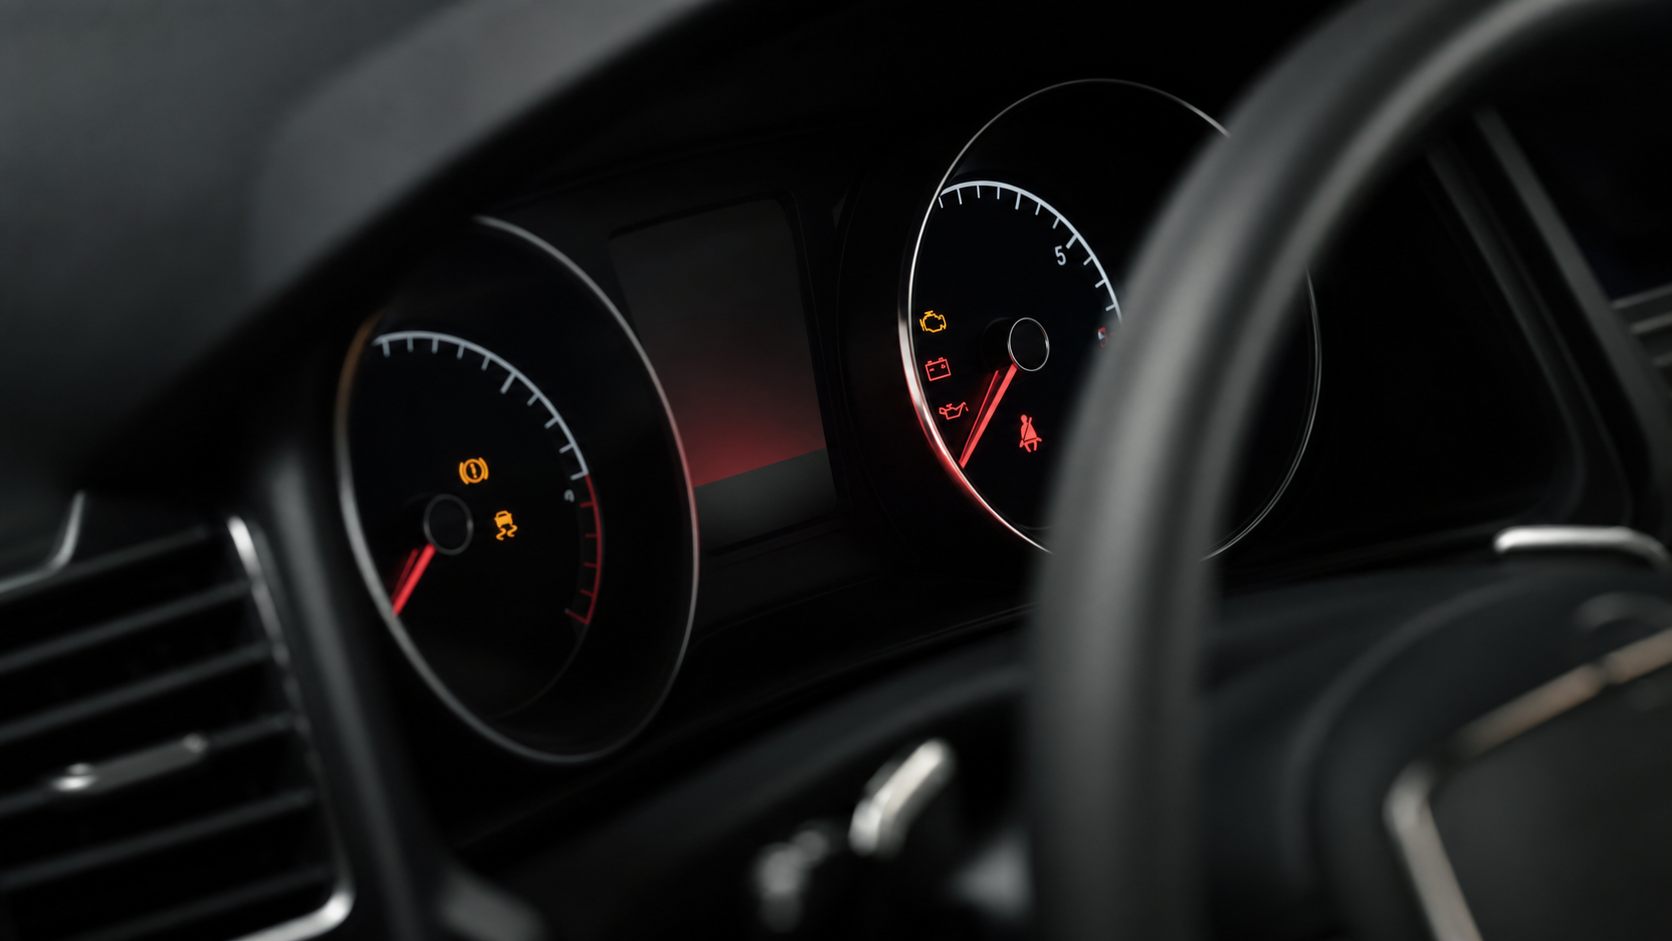
Once the exterior set is complete, show the front cabin, seats, rear seating, dashboard, mileage and boot. Open an opposite door if the cabin is dark rather than using a harsh flash.
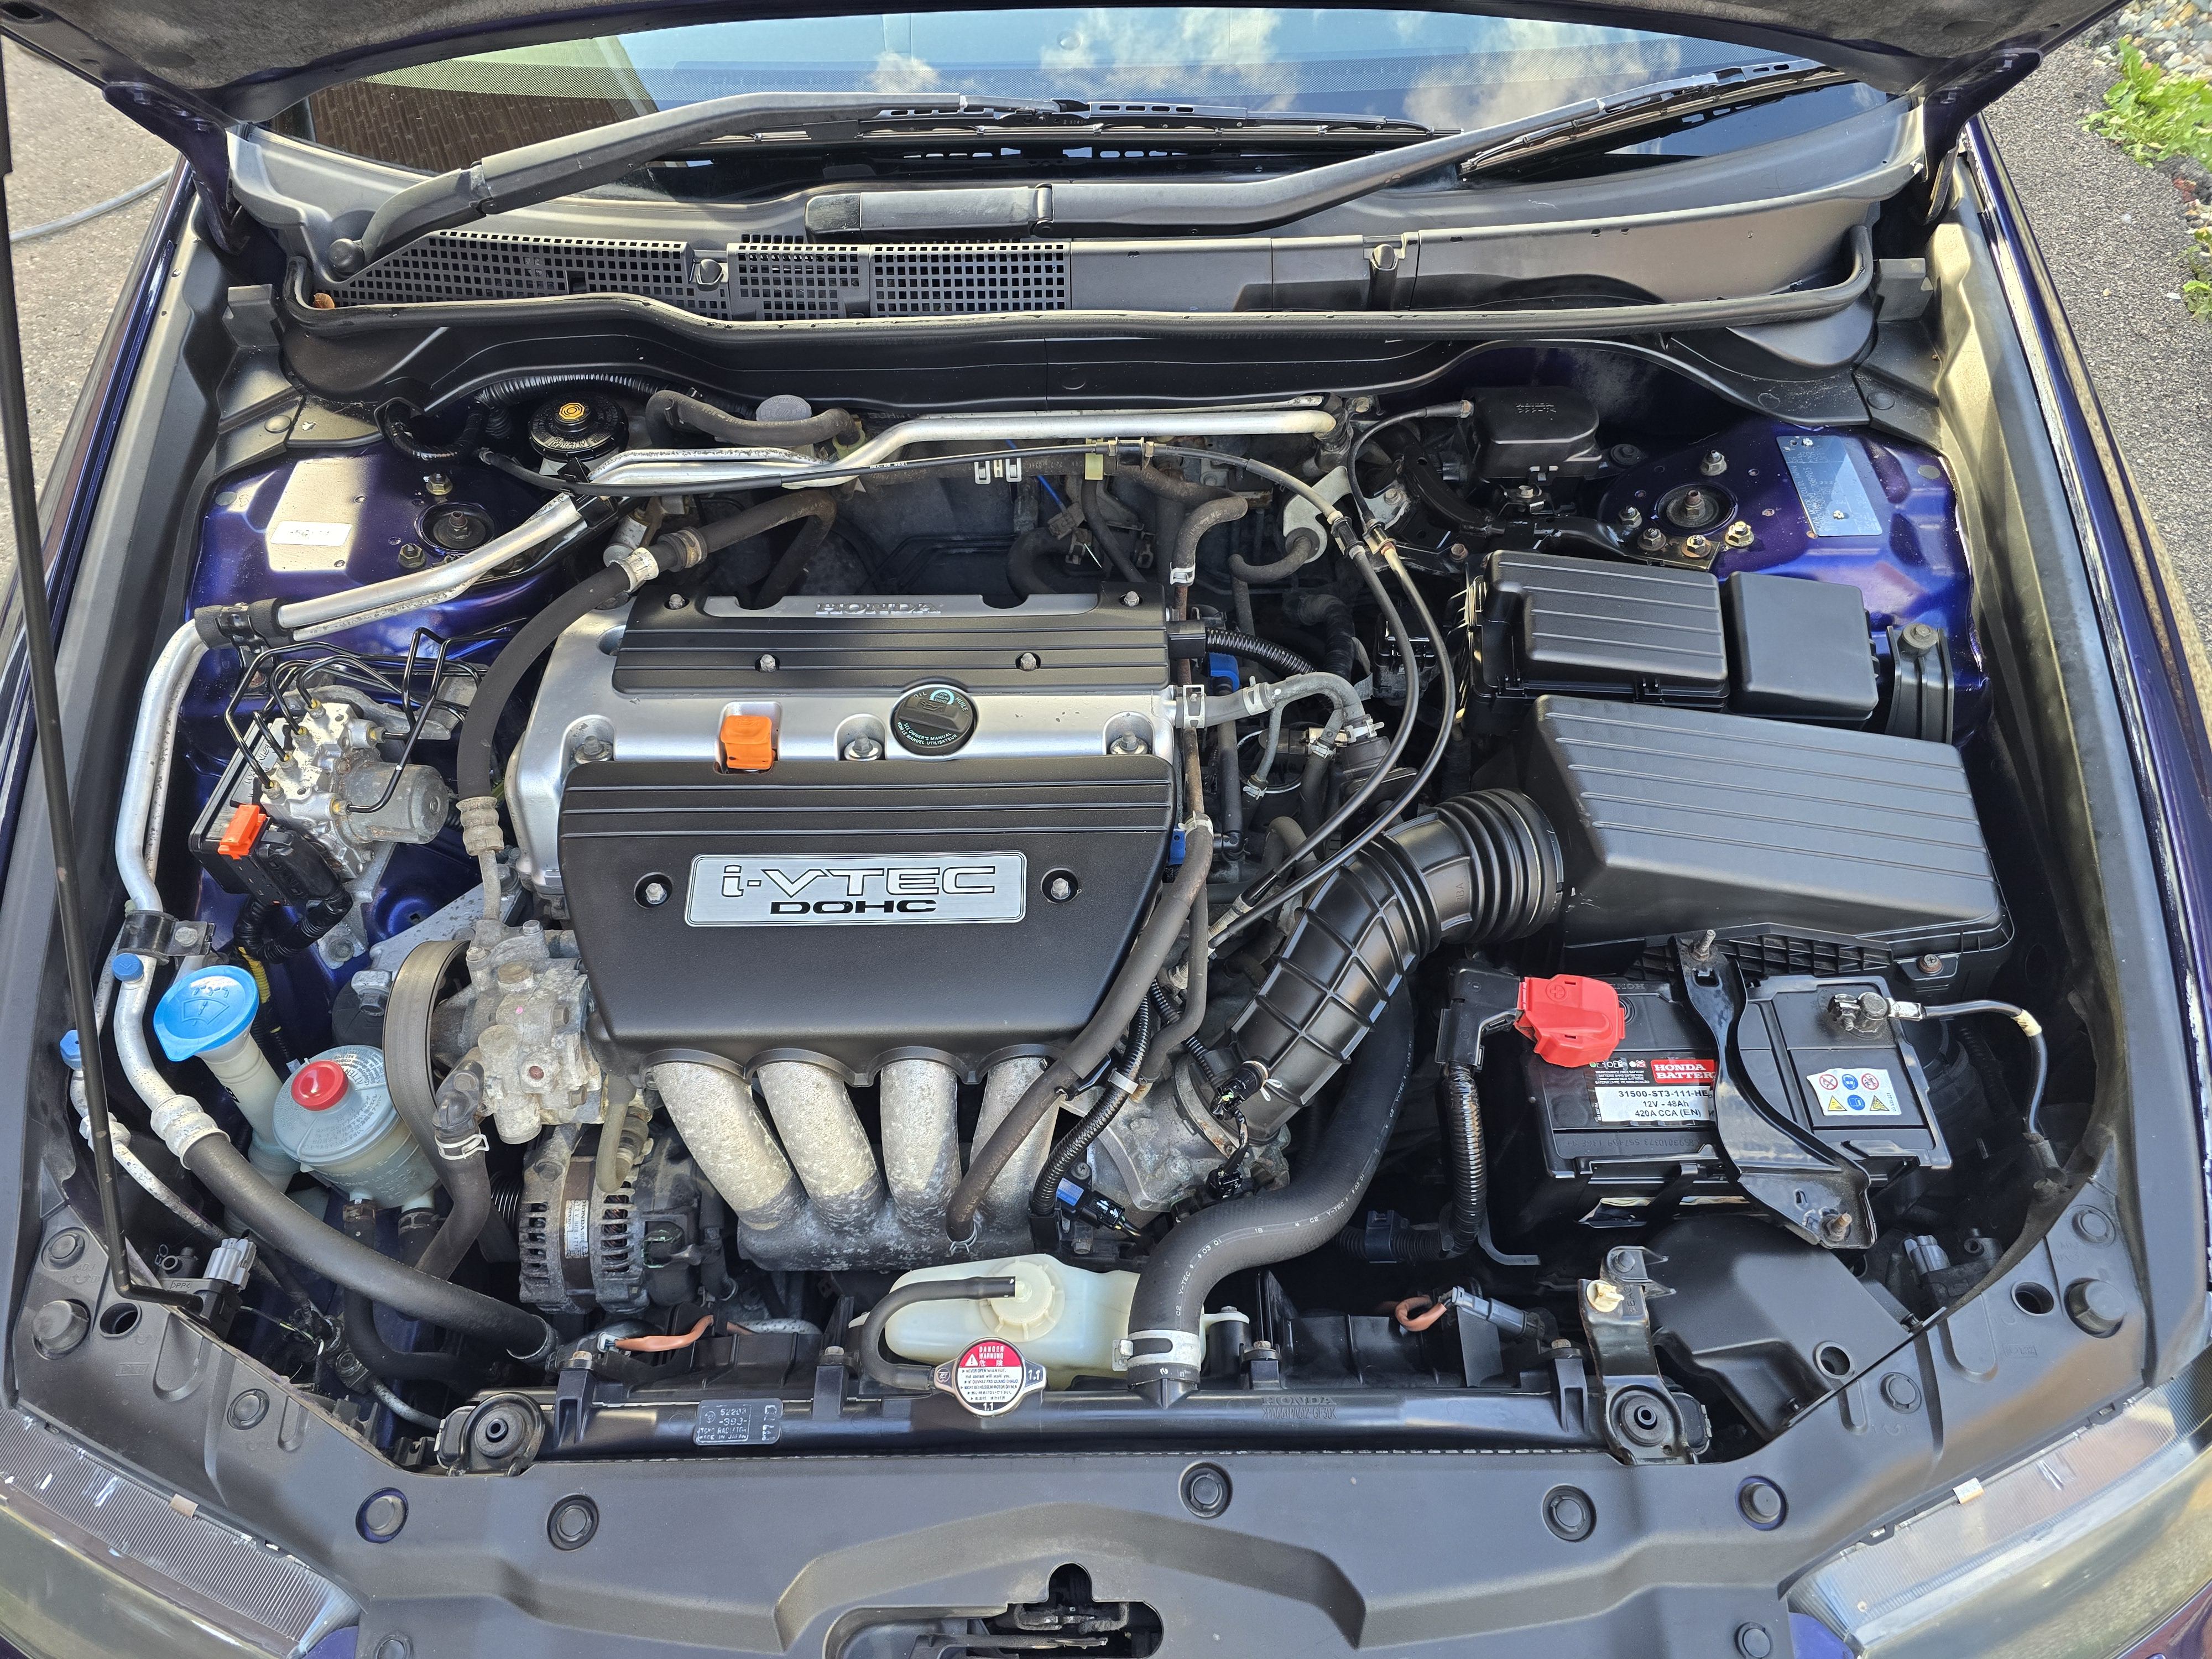
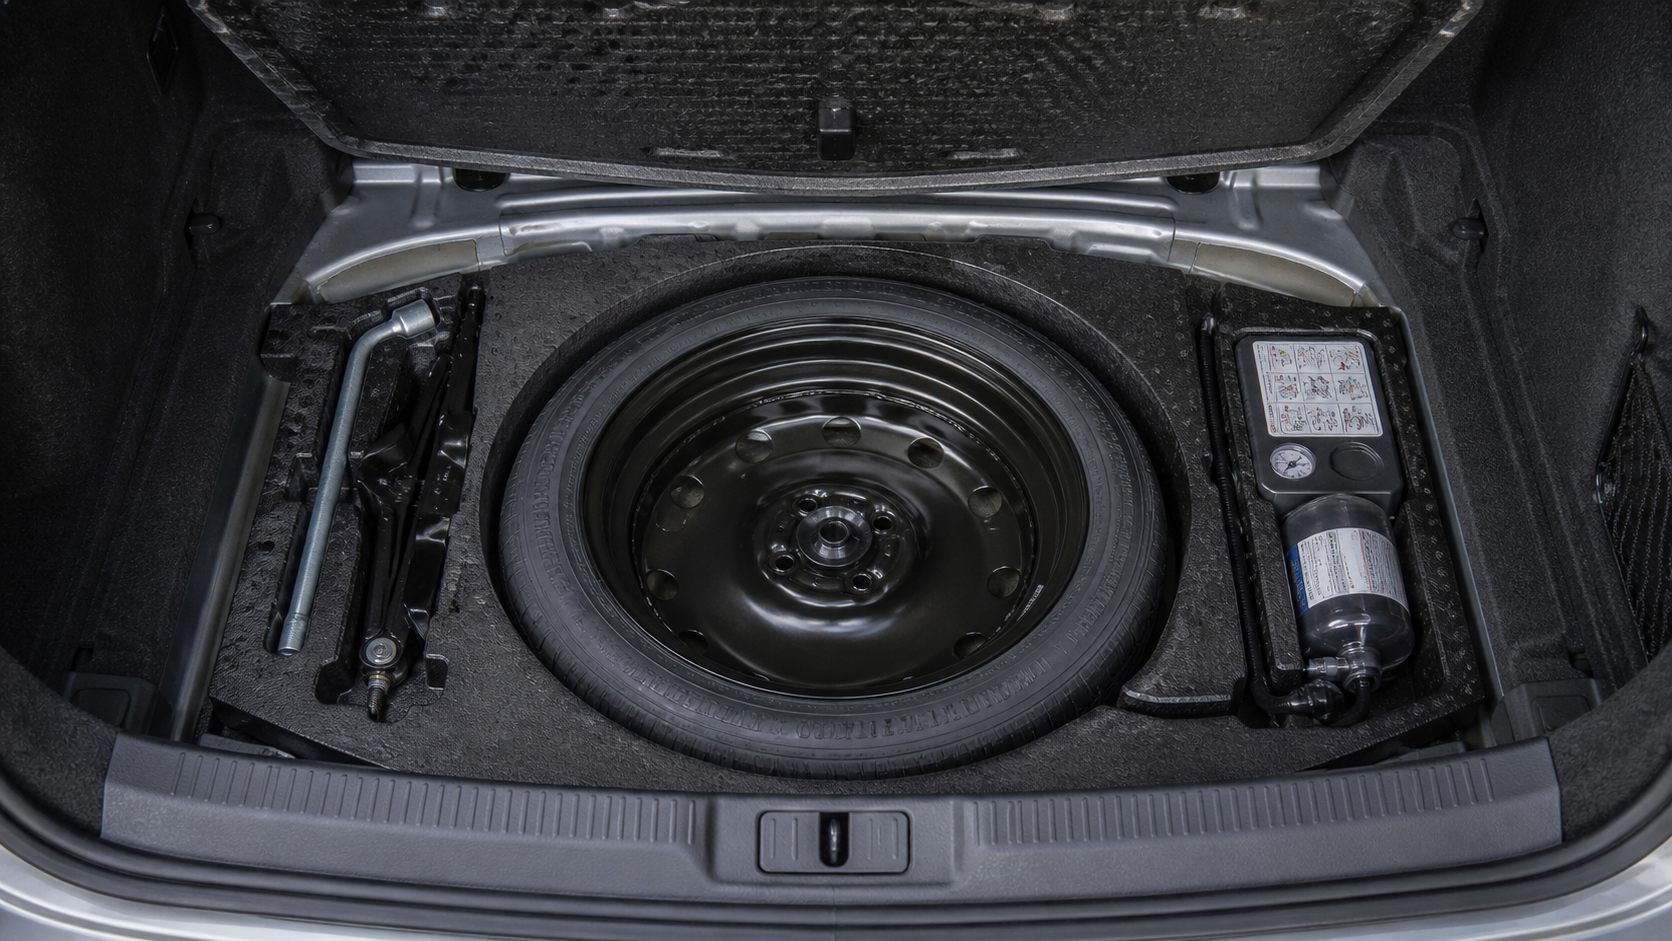
Add the engine bay, keys, service evidence and equipment that genuinely helps describe the car. Heated seats, navigation, a reversing camera, panoramic roof, tow bar or charging cables are useful; six near-identical photographs of one button aren’t.
Photograph damage honestly
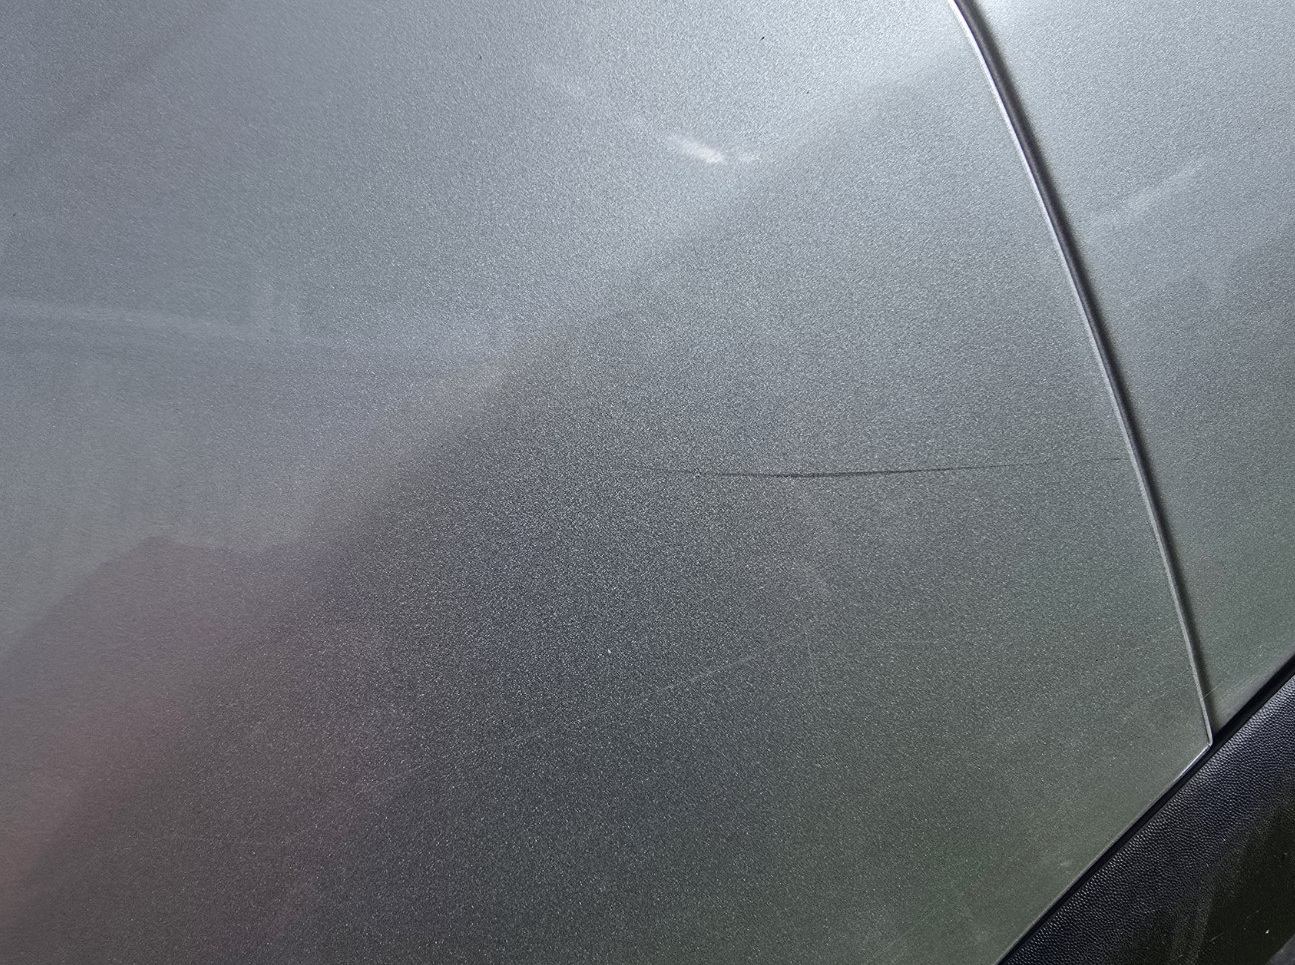
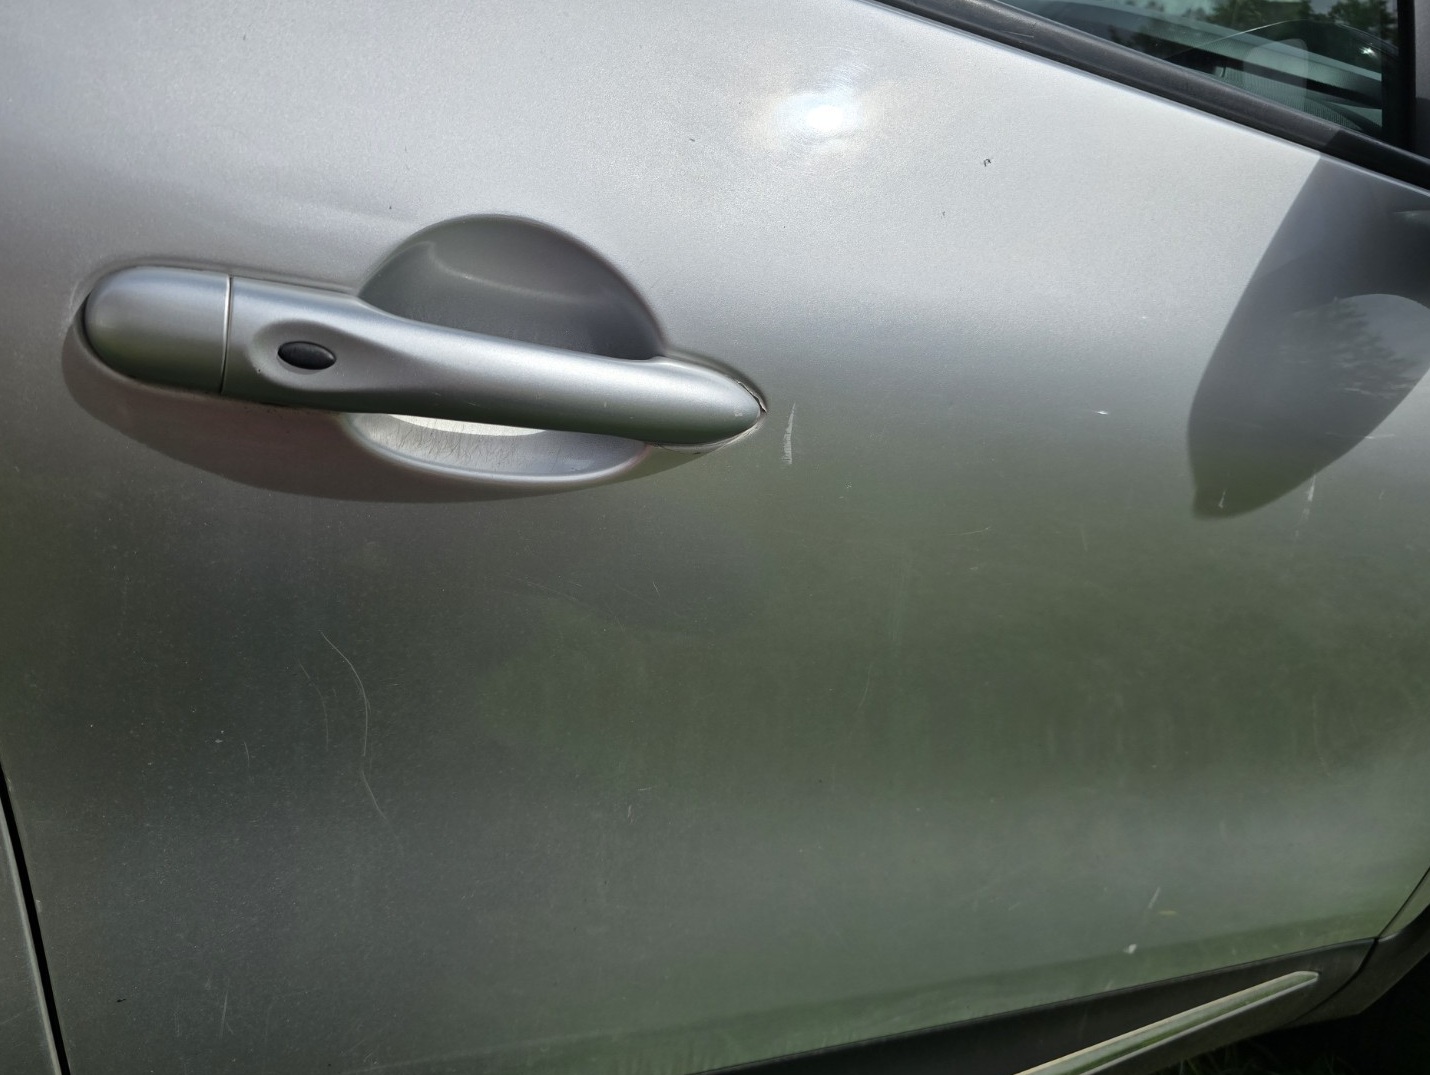
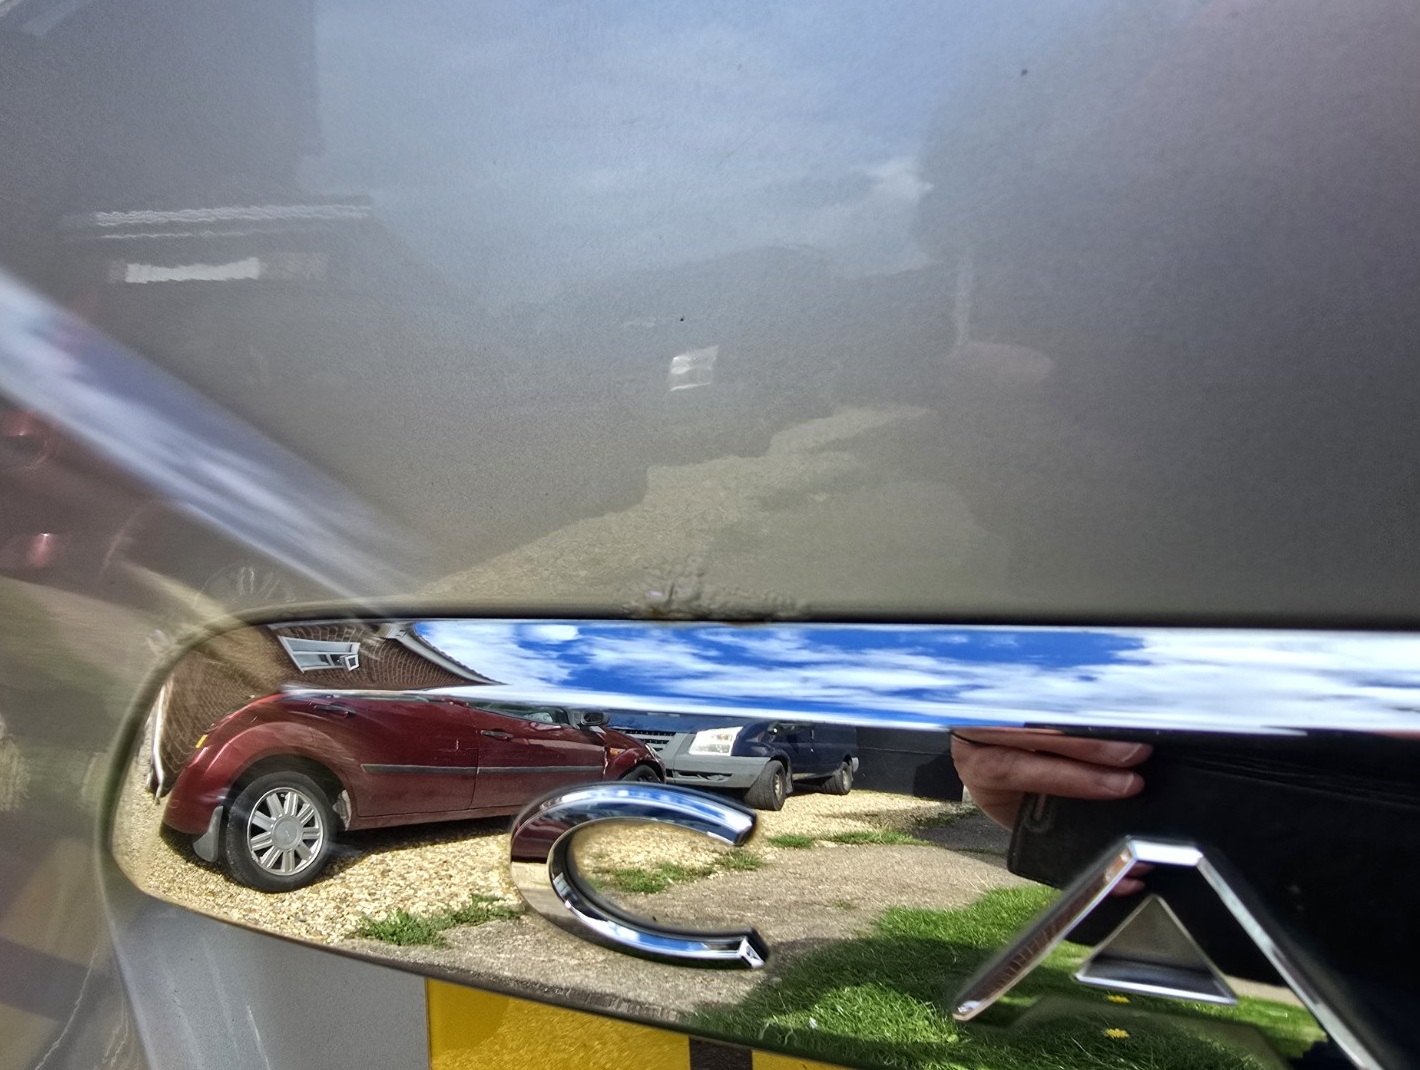
Show what the buyer will notice when they arrive. Use one wider photograph to locate the mark and a closer view to show its extent. That’s more useful than a mysterious close-up with no sense of where the damage sits.
Don’t wet the panel, deepen the shadows or choose an angle designed to make a fault disappear. Honest condition photographs reduce wasted enquiries and give serious buyers more confidence in the rest of the advert.
What helps—and what does not
The strongest advert photographs look natural rather than heavily produced. Buyers need a clear record of the actual car, not a brochure effect or a filtered version of it.
- A clean, dry car and an uncluttered background
- Soft daylight and a level camera
- Landscape frames with the whole subject visible
- Natural colour and honest condition
- Bins, other cars and household clutter behind the car
- Tilted horizons, extreme wide angles and cut-off panels
- Night-time lighting, wet paint and deep shadows
- Filters or editing that disguise colour and condition
Put the photographs in a useful order
Arrange the set like a short remote walk-around. Lead with the strongest honest exterior image, move around the outside, then go inside before finishing with useful details and imperfections.
- Lead image
Best front three-quarter view
- Exterior
Rear three-quarter, front, rear and both sides
- Cabin
Front seats, rear seats and dashboard
- Evidence
Mileage, wheels and tyres
- Practical details
Boot, engine bay and useful equipment
- Specification
Features, keys and service evidence
- Condition
Honest photographs of damage and wear
Number plates and privacy
Showing the registration helps a buyer check MOT history and confirm that the advert matches the car, but it also makes the vehicle easier to identify. Decide what you’re comfortable publishing and use the same approach throughout the set.
Never publish paperwork containing your home address, document reference numbers, finance information or another person’s details. Both keys and service evidence can be shown without making private information readable.
Before you upload the advert
Review the complete set on a phone, because that’s how many buyers will see it. Remove blurred, repetitive or badly framed images and check that the photographs support what the advert says.
- The car is clean, dry and photographed in even daylight.
- The whole car is visible in the main exterior views.
- Front, rear, both sides, wheels and tyres are covered.
- The cabin, mileage, boot and useful specification are shown.
- Any damage a buyer will notice at a viewing is shown clearly.
- Every image is sharp, level and free from filters.
- No private details appear in paperwork or the background.
- The strongest honest exterior photograph appears first.
What matters in practice
Good photographs don’t need to look like a manufacturer brochure. They need to answer the obvious questions and show the car consistently enough for somebody to decide whether a viewing is worthwhile.
A useful set saves time on both sides. Buyers can understand the car before travelling, and you should receive fewer requests for basic pictures that ought to have been in the advert from the start.
What to do next
Choose the final set, compare every photograph with the wording of the advert and keep the original files in case a serious buyer asks for a closer view. If the car’s condition changes before it sells, update the advert rather than leaving an old picture in place.
Use the complete Selling Your Car Privately guide alongside a clear, accurate used-car advert. Sense-check the asking price with the valuation guide, or compare the work of selling privately with part exchange before you publish.