
Practical advice · Real experience
Car Care & Advice
Practical guidance to help you keep your car safe, reliable and looking its best—with clear boundaries around jobs that are better left to a professional.
Small, regular checks can prevent expensive problems. Learn what you can safely inspect or maintain yourself, follow the vehicle handbook and know when a job is better left to a professional.
A genuine Forecourt Insider example
Careful improvement—not cosmetic perfection.
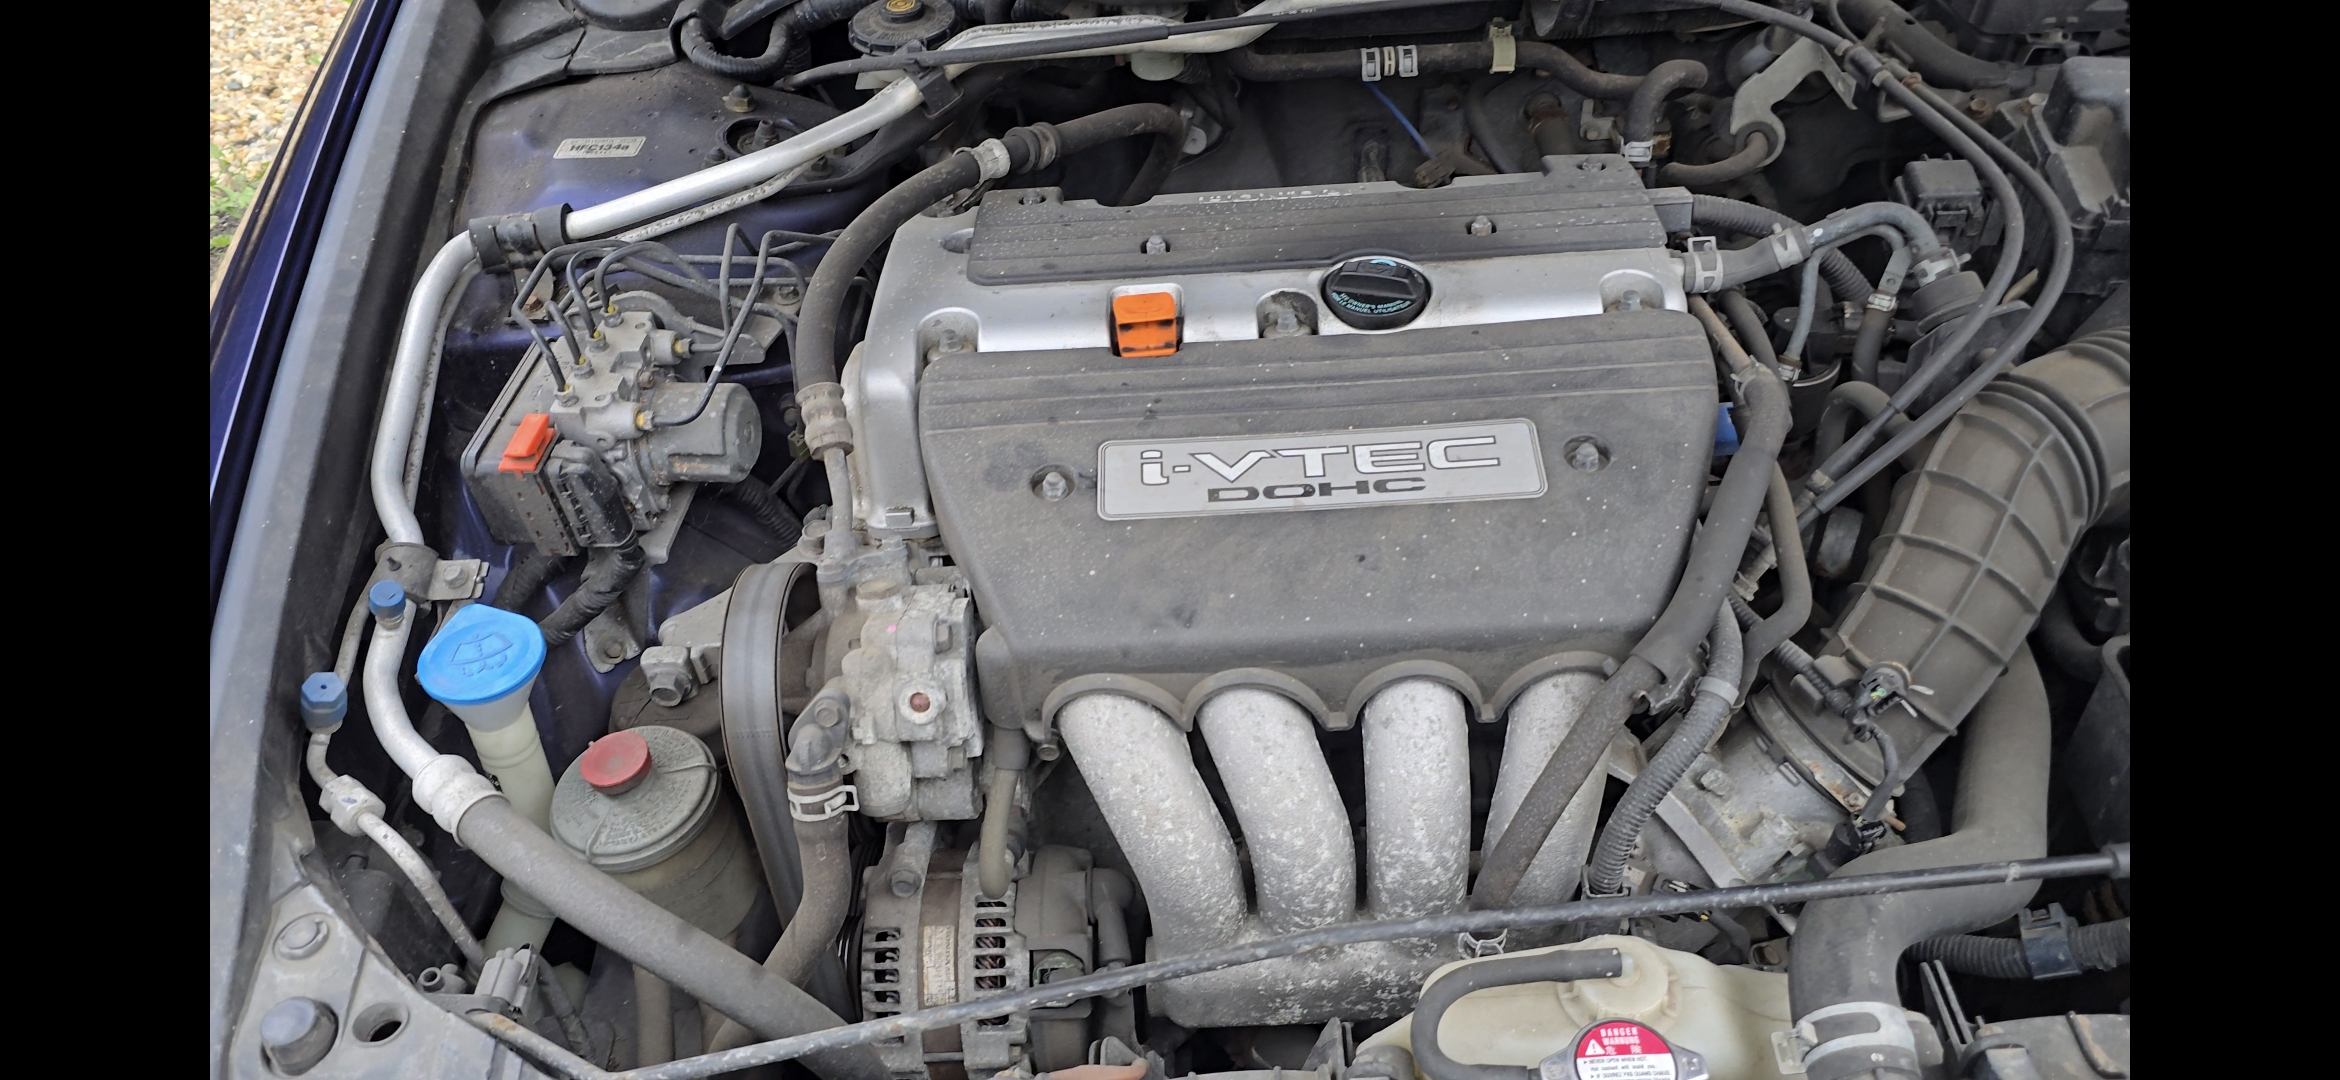
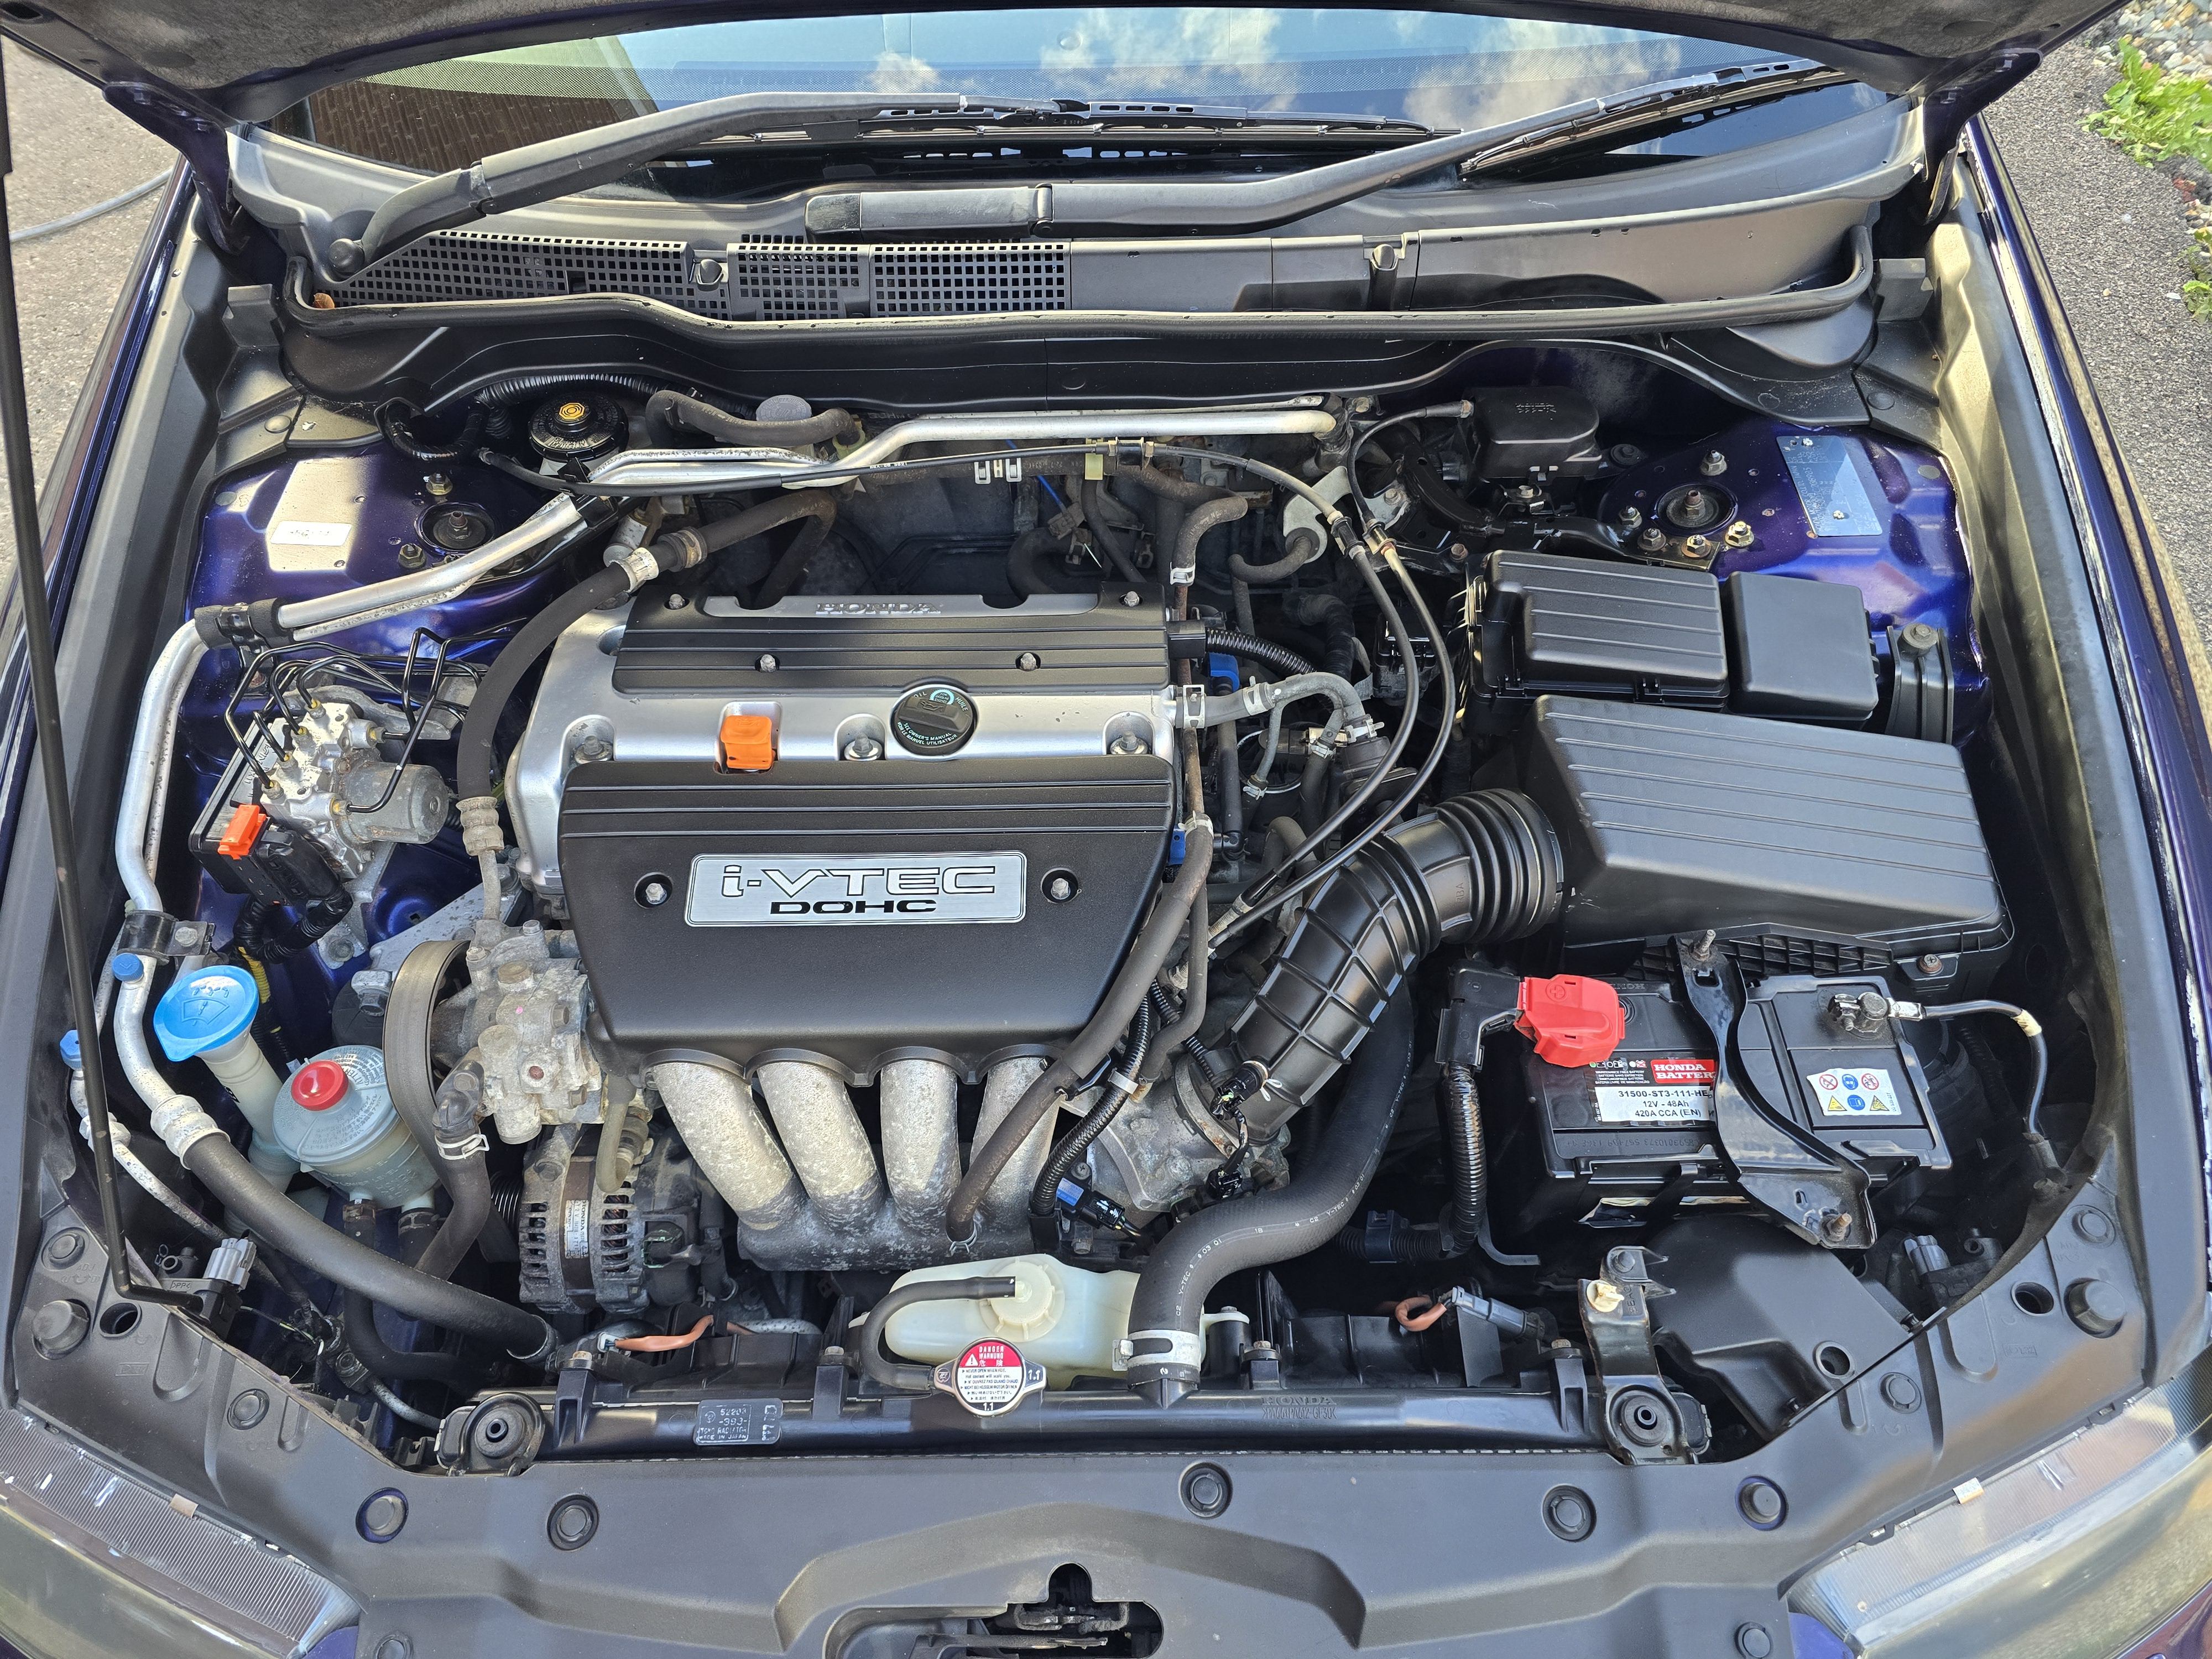
Real-world example: the same 2003 Honda Accord engine bay before and after careful cleaning and presentation.
The Forecourt Insider view
Good car care isn’t about making every car perfect.
It’s about understanding the condition, keeping the car safe and serviceable, protecting value where it makes sense and spotting developing problems before they become larger ones.
The right effort changes with the car’s age, mileage, value, condition and intended use—and with the cost, tools, competence and safety risk involved in the job. A £1,000 older car and a £50,000 newer car don’t automatically justify the same cosmetic or financial treatment.
Two sides of sensible car care
Start with what the car needs today.
Mechanical health keeps the car safe and dependable. Presentation and protection help preserve its condition and make it a nicer thing to own.
Mechanical health
Tyres, fluids, servicing, warning lights, brakes and suspension.
Follow the mechanical path →Presentation & protection
Washing, paint, polishing, glass, interior condition and odour.
Follow the presentation path →Practical starting points
Choose the check or job in front of you.
Some jobs deserve their own full guide, while others only need a straightforward explanation. This section brings both together so you can quickly find the advice that’s relevant to your car.
How to Check Tyre Tread Depth & Condition
Tyres are the car’s only contact with the road. Check condition and wear across the full width, not only the easy-to-see outer edge.
Read the guide →How to Check Your Engine Oil
Use the exact handbook procedure, the correct oil specification and investigate repeated loss rather than endlessly topping up.
Read the guide →How to Check Coolant & Screenwash
Check coolant only when the system is cool and safe, and treat repeated loss as a fault that needs investigation.
Read the guide →How to Change a Spare Wheel Safely
First decide whether traffic, ground, equipment and your own ability make a roadside wheel change safe.
Read the guide →How to Use a Tyre Inflation Kit
Compressor-and-sealant kits suit only certain small punctures and provide a temporary route to professional help.
Read the guide →How to Touch Up Stone Chips
Small, careful applications can protect exposed material; larger or rusty damage deserves professional assessment.
Read this section ↓Machine Polishing for Beginners
Begin with clean paint and the least aggressive suitable combination. The goal is improvement, not removal of every defect.
Read the guide →Light Scratches & Paint Transfer
Establish whether the mark is transferred material, a clear-coat defect or damage through the colour before choosing a method.
Read the guide →SMART Repair & Minor Paint Repair
Decide when a local cosmetic repair is worthwhile, when to use a professional and when to leave a mark alone.
Read the guide →Safe Car Washing & Basic Detailing
Reduce wash-induced swirls by removing contamination with as little unnecessary contact as practical.
Read the guide →Mercedes W204 Roof Trim Lacquer Peel Repair
Refurbish failed black roof-trim lacquer with careful preparation, compatible paint and proper curing time.
Read the guide →Air-Con Cleaner or “Bomb”
A one-shot aerosol may freshen the cabin, but it isn’t a refrigerant recharge, mould cure or mechanical repair.
Read this section ↓How to Change Wiper Blades
Smearing, juddering, missed areas and split rubber are reasons to inspect the blades before visibility becomes unsafe.
Read this section ↓Replacing Simple Car Bulbs
Identify whether the lamp uses a conventional bulb, xenon, LED or an integrated unit before dismantling anything.
Read this section ↓Understanding Dashboard Warning Lights
Use the handbook as the authoritative reference and treat red or safety-critical warnings appropriately.
Read the guide →Signs Your Brakes Need Attention
Changes in sound, pedal feel, warning messages or braking behaviour justify prompt competent inspection.
Read the guide →When NOT to DIY
Safety, secure lifting, high voltage, specialist equipment and the consequences of a mistake should guide the decision.
Read the guide →The sensible standard changes with the car
Good care begins with an honest understanding of what the car is, what it needs and what you’re trying to achieve. Keep it safe and serviceable first, protect its value where that’s sensible, improve the presentation where worthwhile and notice developing problems.
Age, mileage, value and intended ownership all matter. So do the likely repair cost, your competence, the tools and conditions available and the consequence of getting the job wrong. A cheap older car doesn’t need cosmetic perfection, while expensive or safety-critical work still needs proper judgement whatever the car is worth.
Keeping the car mechanically healthy
Looking after a car doesn’t mean becoming a mechanic. It means noticing what changes, keeping on top of routine checks and dealing with small issues before they have the chance to become bigger ones.
Use the handbook for the exact car where procedures vary. Checks are most useful when they become routine rather than something prompted only by an MOT, warning light or breakdown.
Small problems don’t usually fix themselves
I compare it with a chipped tooth: a tiny problem may be quick and relatively inexpensive to sort early, but leave it until it becomes painful and the repair is often bigger. Cars can be much the same. A slow puncture, brakes starting to grind, a warning light or a change in how the car drives rarely becomes cheaper through being ignored.
A squealing auxiliary belt may sound like a minor irritation, but it can point to a belt that’s ageing, slipping or incorrectly tensioned. Depending on the vehicle, it may drive equipment such as the alternator or air-conditioning compressor. If it fails, the inconvenience can be far greater than the cost of getting the original noise checked. Belt layouts vary, so find out what applies to the exact car rather than guessing.
Tyres and roadside equipment

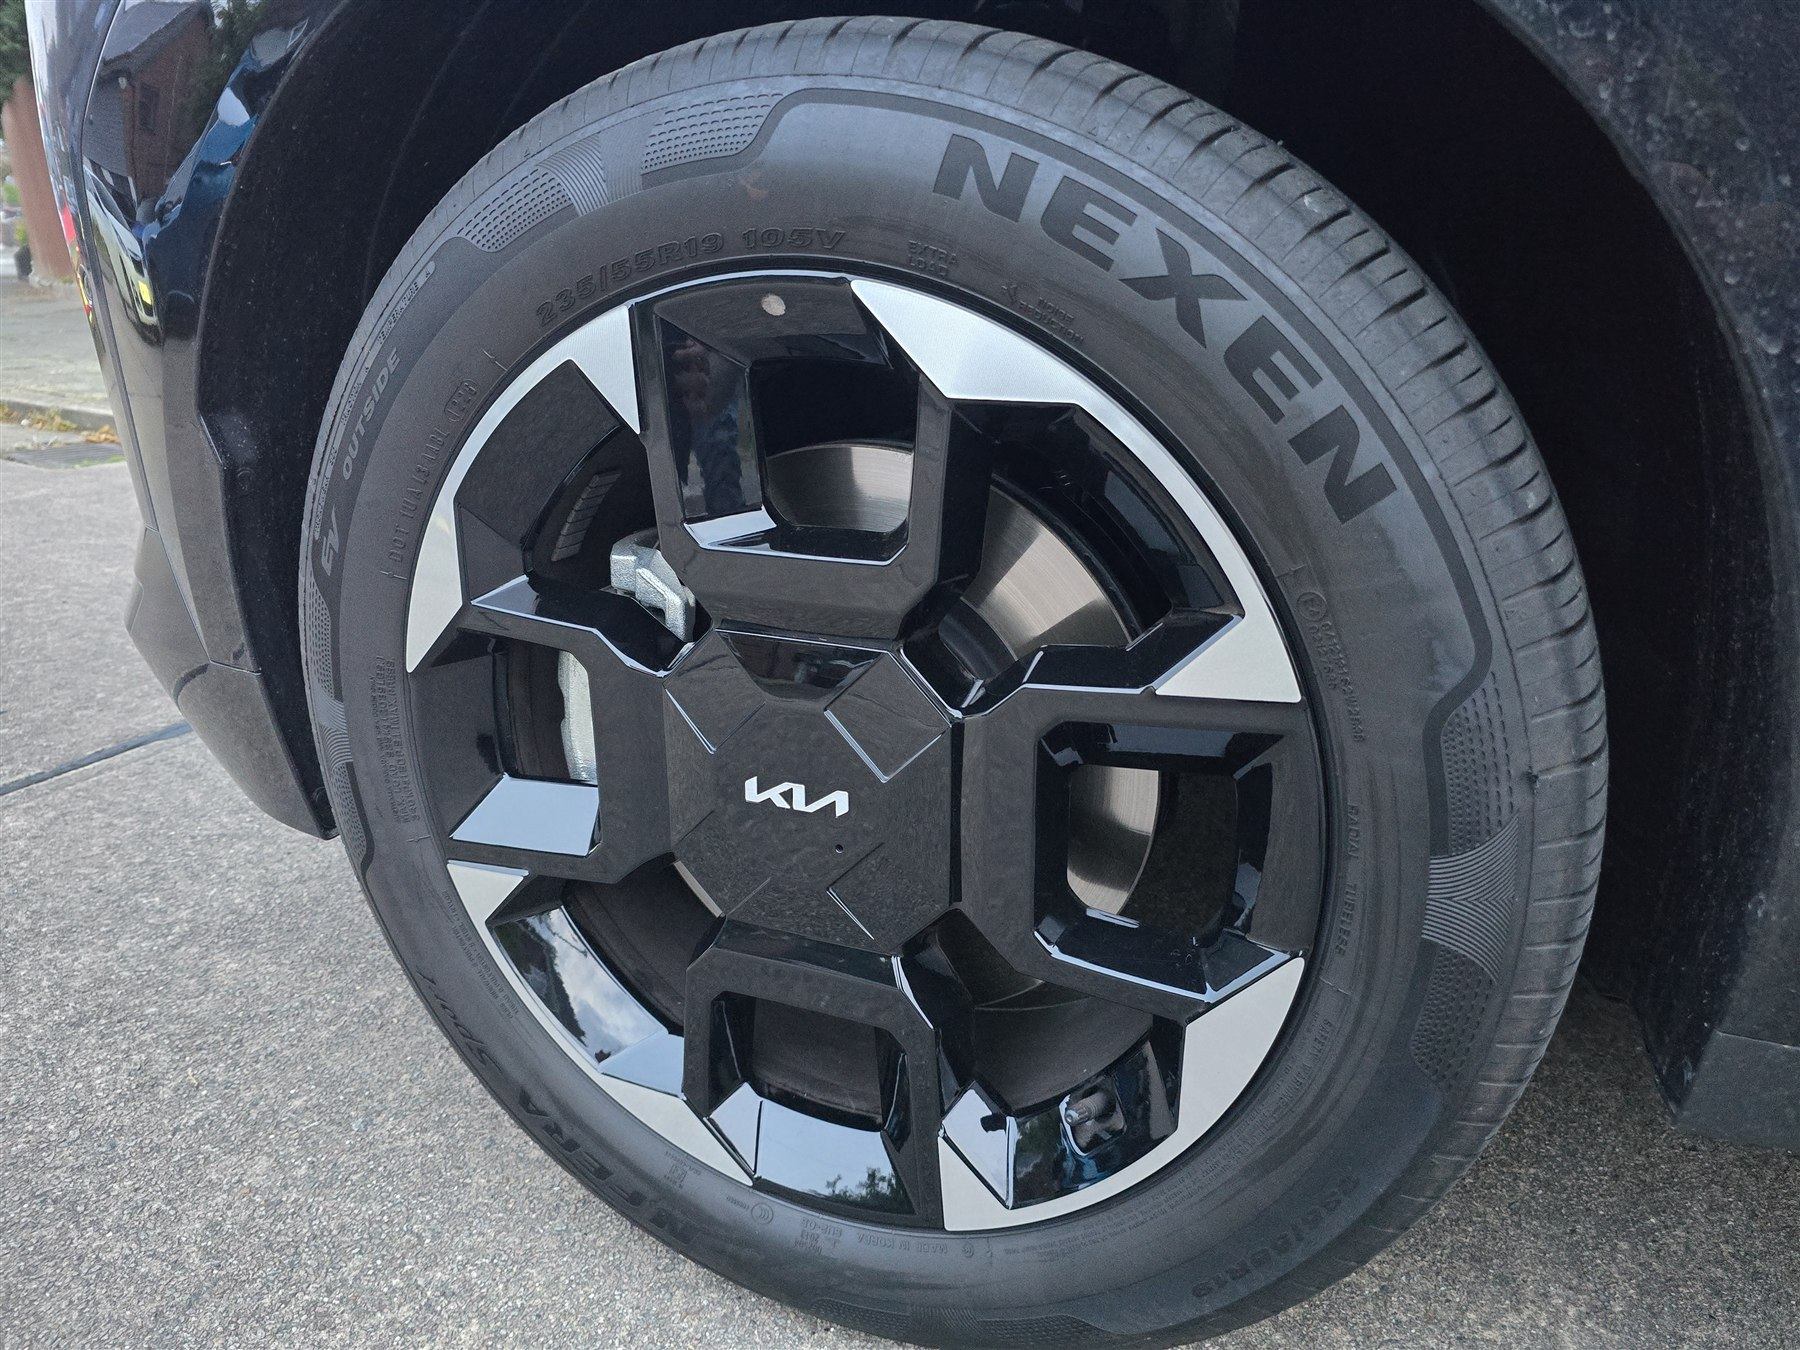
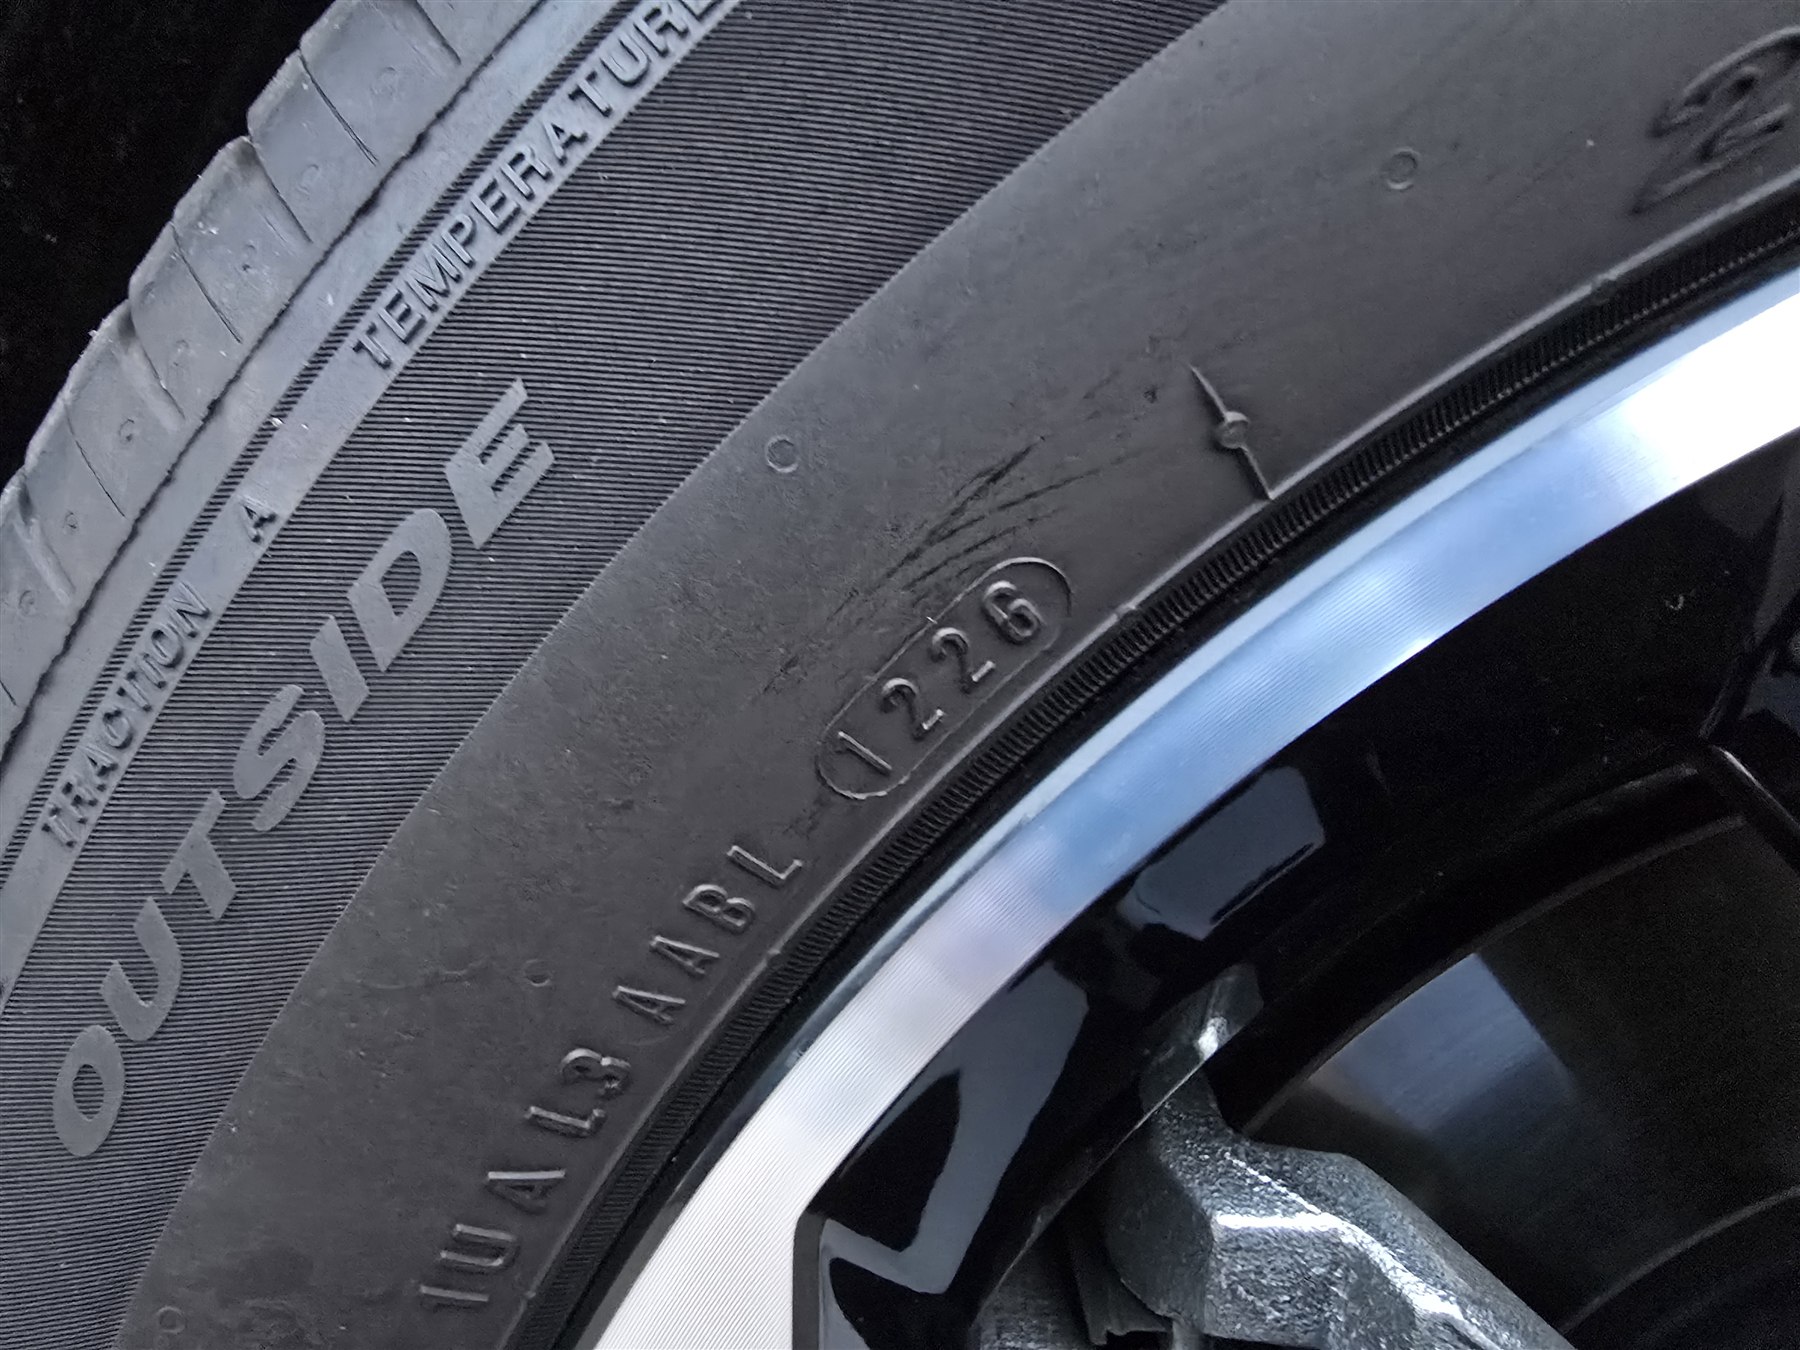
Inspect tread and condition across the full width of all four tyres, including the inner and outer shoulders. Bulges, cuts, exposed cords, puncture damage, heavy cracking or severe uneven wear need attention regardless of the headline tread figure. The manufacturing date can add useful context, but age alone doesn’t replace a physical condition check.
For most UK cars, the legal minimum is 1.6 mm across the central three-quarters of the tread around the full circumference. That’s a legal limit, not necessarily the ideal point to plan a replacement. Around 3 mm can give a more comfortable usable margin depending on the tyre, conditions and circumstances, but it isn’t a universal legal or mandatory replacement point.
When did you last check your tyre pressures? Many owners rarely do. Tyre-pressure monitoring systems are useful, but they aren’t a substitute for basic awareness. Incorrect pressure can affect safety, handling, tyre wear and efficiency, so use the vehicle manufacturer’s figures and a reliable gauge. Uneven wear may point towards pressure, alignment, suspension or another issue, but don’t diagnose the cause from the wear pattern alone.
Know whether the car carries a full-size spare, space-saver or inflation kit before you need it. A wheel change is sensible only when the location, traffic, ground, equipment and your own ability make it safe. Sealant suits only certain small tread-area punctures; it won’t deal with a blowout, serious sidewall cut or large gash, and any successful repair is only a temporary route to professional help.
Oil, coolant and screenwash
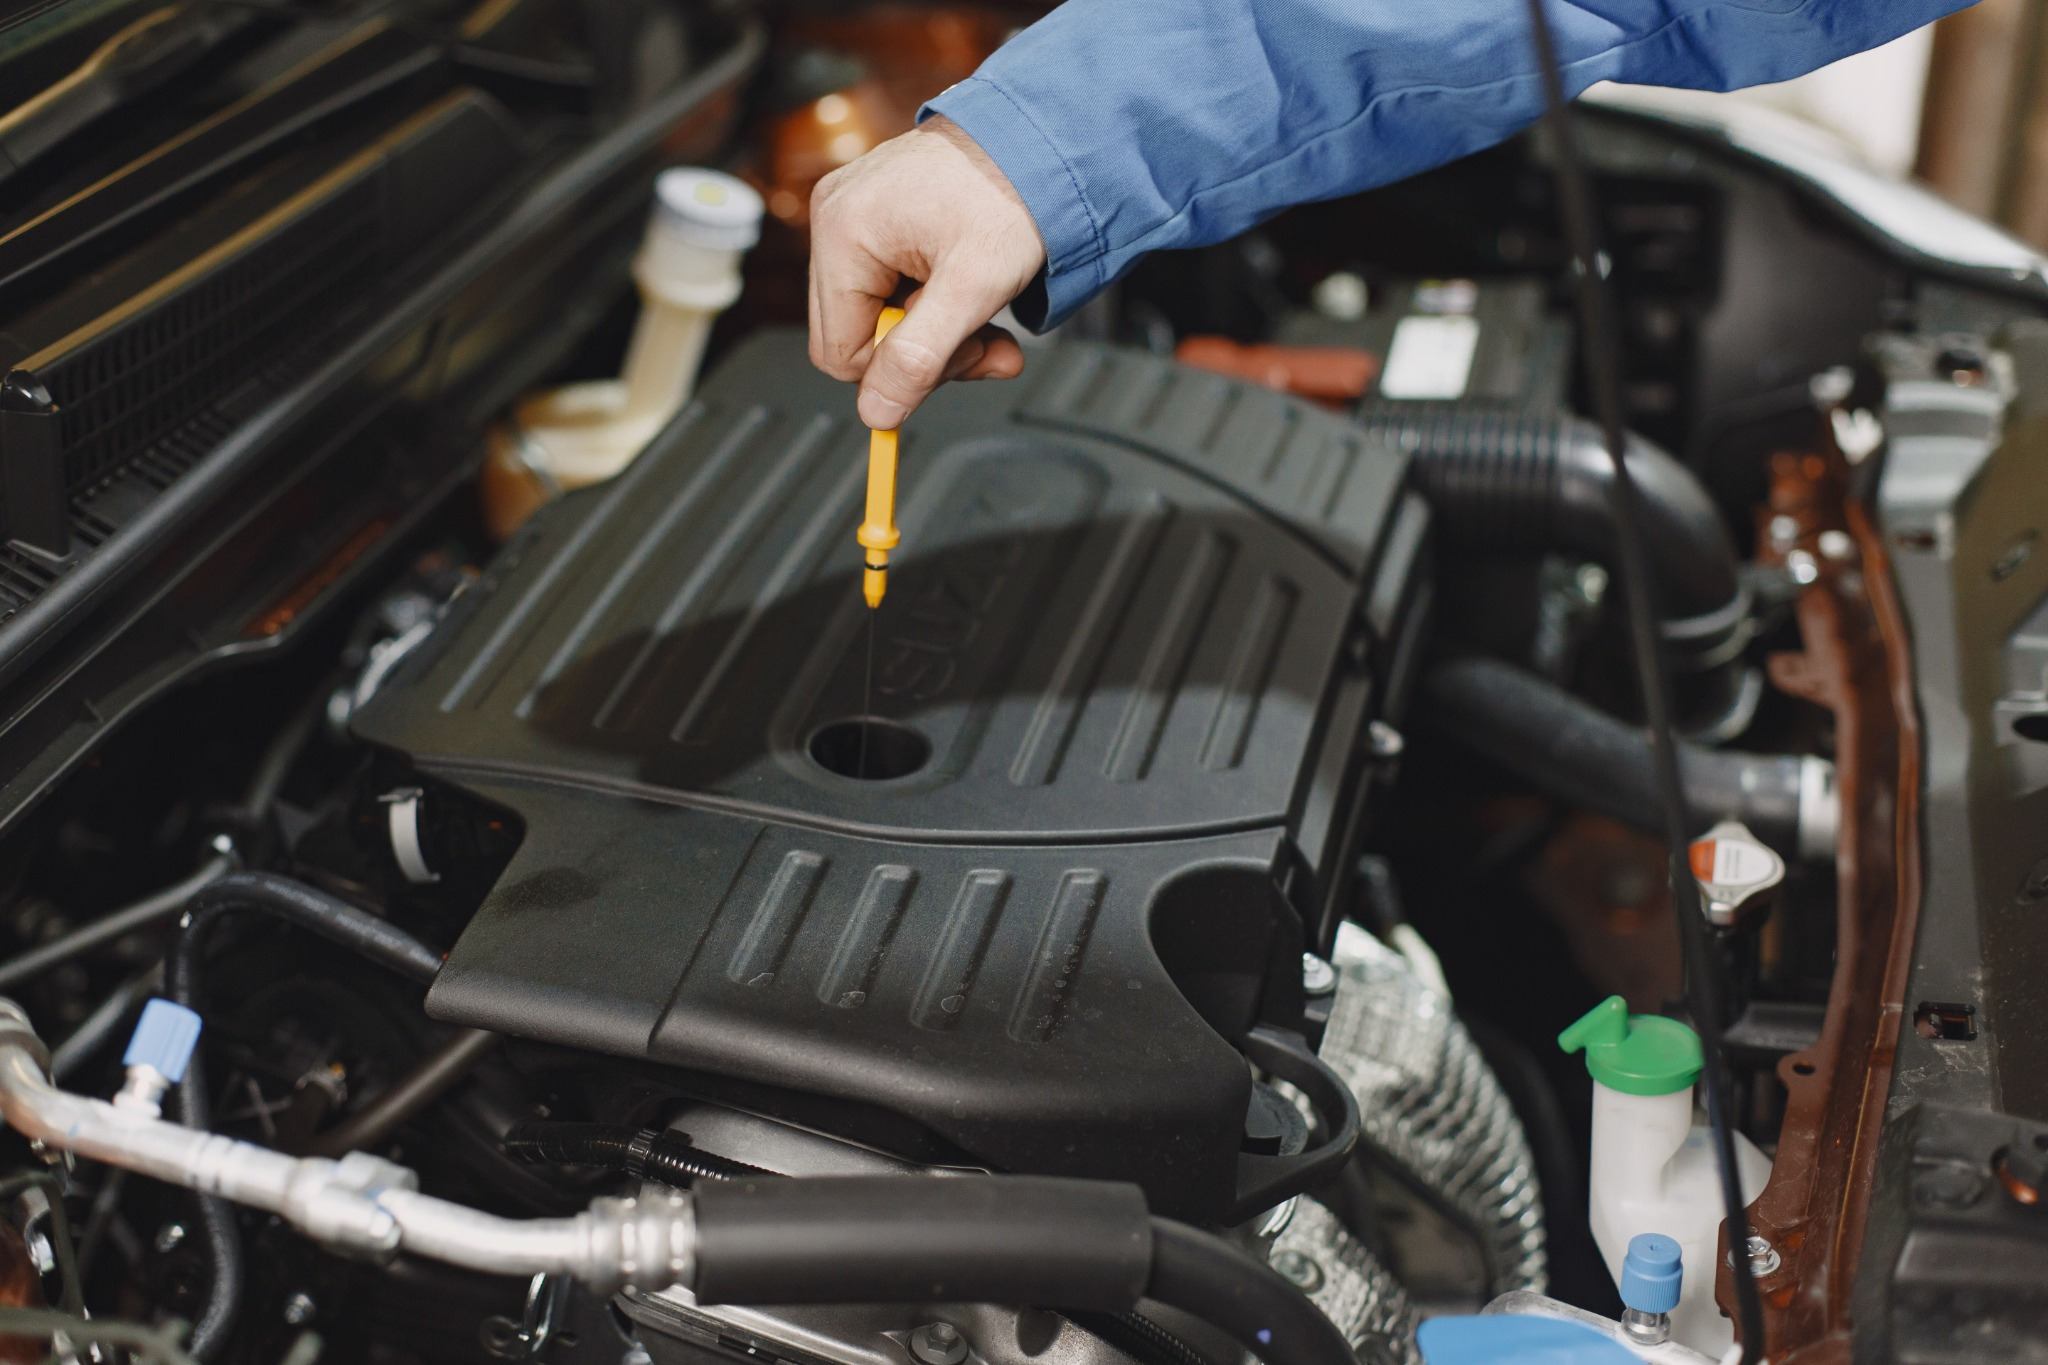
Check the oil using the correct procedure for the exact vehicle. For a conventional dipstick, use suitable level ground and follow the handbook on whether the engine should be hot, cold or allowed to stand. Remove the dipstick, wipe it, reinsert it fully and take a proper reading. With an electronic system, follow the manufacturer’s on-screen and handbook procedure. Use the correct oil specification, not simply a convenient viscosity, and don’t overfill.
Never open a hot pressurised cooling system. Let it cool properly, use the correct coolant specification and treat repeated loss, overheating or contamination as a reason for diagnosis. Don’t keep topping up a system without understanding why the level is falling.
Keep the washer reservoir filled with a sensible concentration for the conditions, check that the jets work and don’t rely on plain water throughout the year. Visibility equipment matters in ordinary use, not only at MOT time.
Service by time or distance—whichever comes first
A 10,000-mile or 12-month service interval normally means whichever comes first. It doesn’t mean a low-mileage driver can wait three years simply because the car has only covered 10,000 miles. Check the manufacturer’s schedule for the exact vehicle rather than judging servicing by mileage alone.
Repeated short journeys can be hard on engine oil and components because the engine may not spend long at full operating temperature and moisture can build up. In my experience, steady long-distance use can often be gentler than continual short trips, but that isn’t a rule that makes every motorway-mile car better. Condition, maintenance and use still matter.
A creamy residue under the oil filler cap can sometimes be condensation associated with repeated short journeys or infrequent use. It can also have other causes, so don’t assume it’s harmless—particularly if there’s coolant loss, overheating, contaminated oil or another symptom.
Keeping it presentable and protected
Cosmetic care doesn’t need to become an obsession. Keep the car pleasant to use, protect what you can and improve it sensibly rather than chasing perfection at any cost.
A proper clean makes condition easier to see, improves pride of ownership and can make a car more desirable when it’s time to sell. Remove rubbish and clutter, vacuum properly, clean the glass and touch surfaces, remove obvious grime and deal with an odour at its source rather than hiding it under fragrance. Avoid shiny, silicone-heavy finishes: clean, cared-for and natural-looking is a better target.
Engine-bay cleaning—controlled, not soaked
An engine bay can look dramatically better after careful cleaning, but don’t drown it in water or make every surface unnaturally glossy. On the Accord I used suitable products, controlled wiping and light agitation.
Avoid saturating electrical connectors, fuse boxes, exposed electronics, air intakes, the alternator and other vulnerable components. The exact layout and risks vary from car to car, so inspect first and don’t assume a technique that was suitable on one vehicle transfers directly to another.
Washing safely without turning it into an obsession
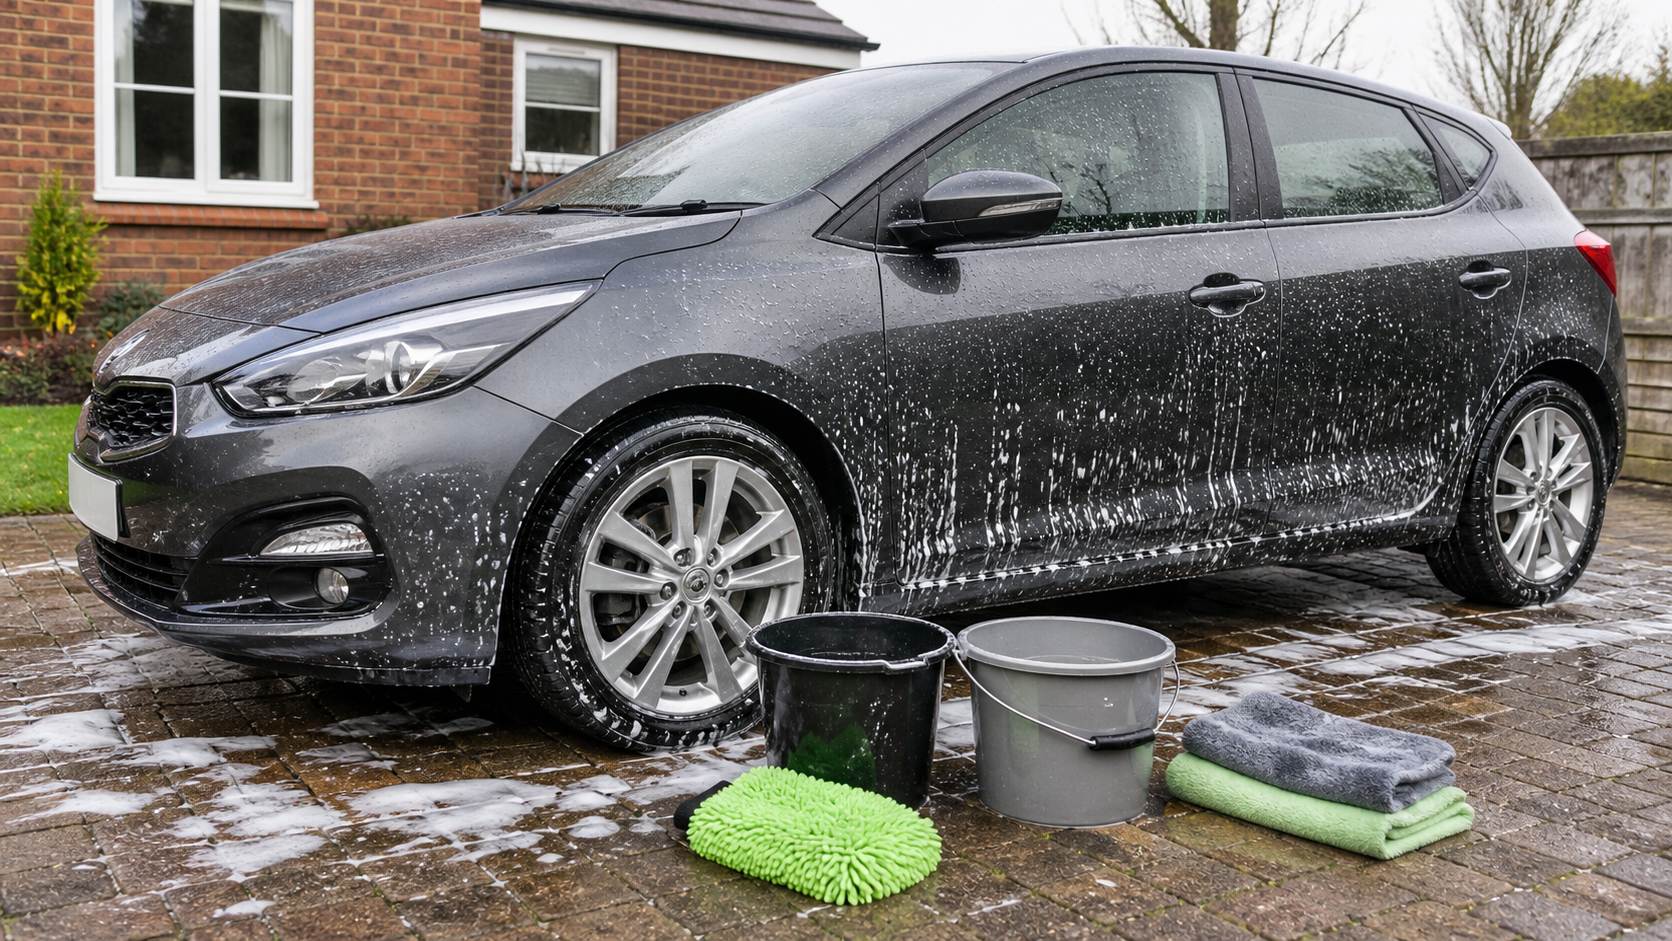
You don’t need a garage full of expensive products. Rinse loose contamination first where practical; a suitable pre-wash or snow foam can help reduce the dirt that remains before contact. Use clean wash media, avoid grinding grit across the paint and rinse thoroughly.
Dry carefully with appropriate clean material. The useful principle is to minimise unnecessary contact and contamination—not to insist that every owner must buy one exact brand or follow one ritual.
Machine polishing and paint correction
Machine polishing can improve dullness, light oxidation, wash marks, minor surface defects and gloss, but it works by removing a finite amount of the paint system. Deeper scratches may remain, and not every mark is worth chasing.
Unknown paint thickness calls for caution, especially around edges and body lines. Wet sanding is more aggressive again: it can permanently damage paint and shouldn’t be presented as an ordinary beginner polishing step. It only makes sense where the defect warrants it, the risk is understood, enough paint or clearcoat is available and the surface can be safely refined afterwards.
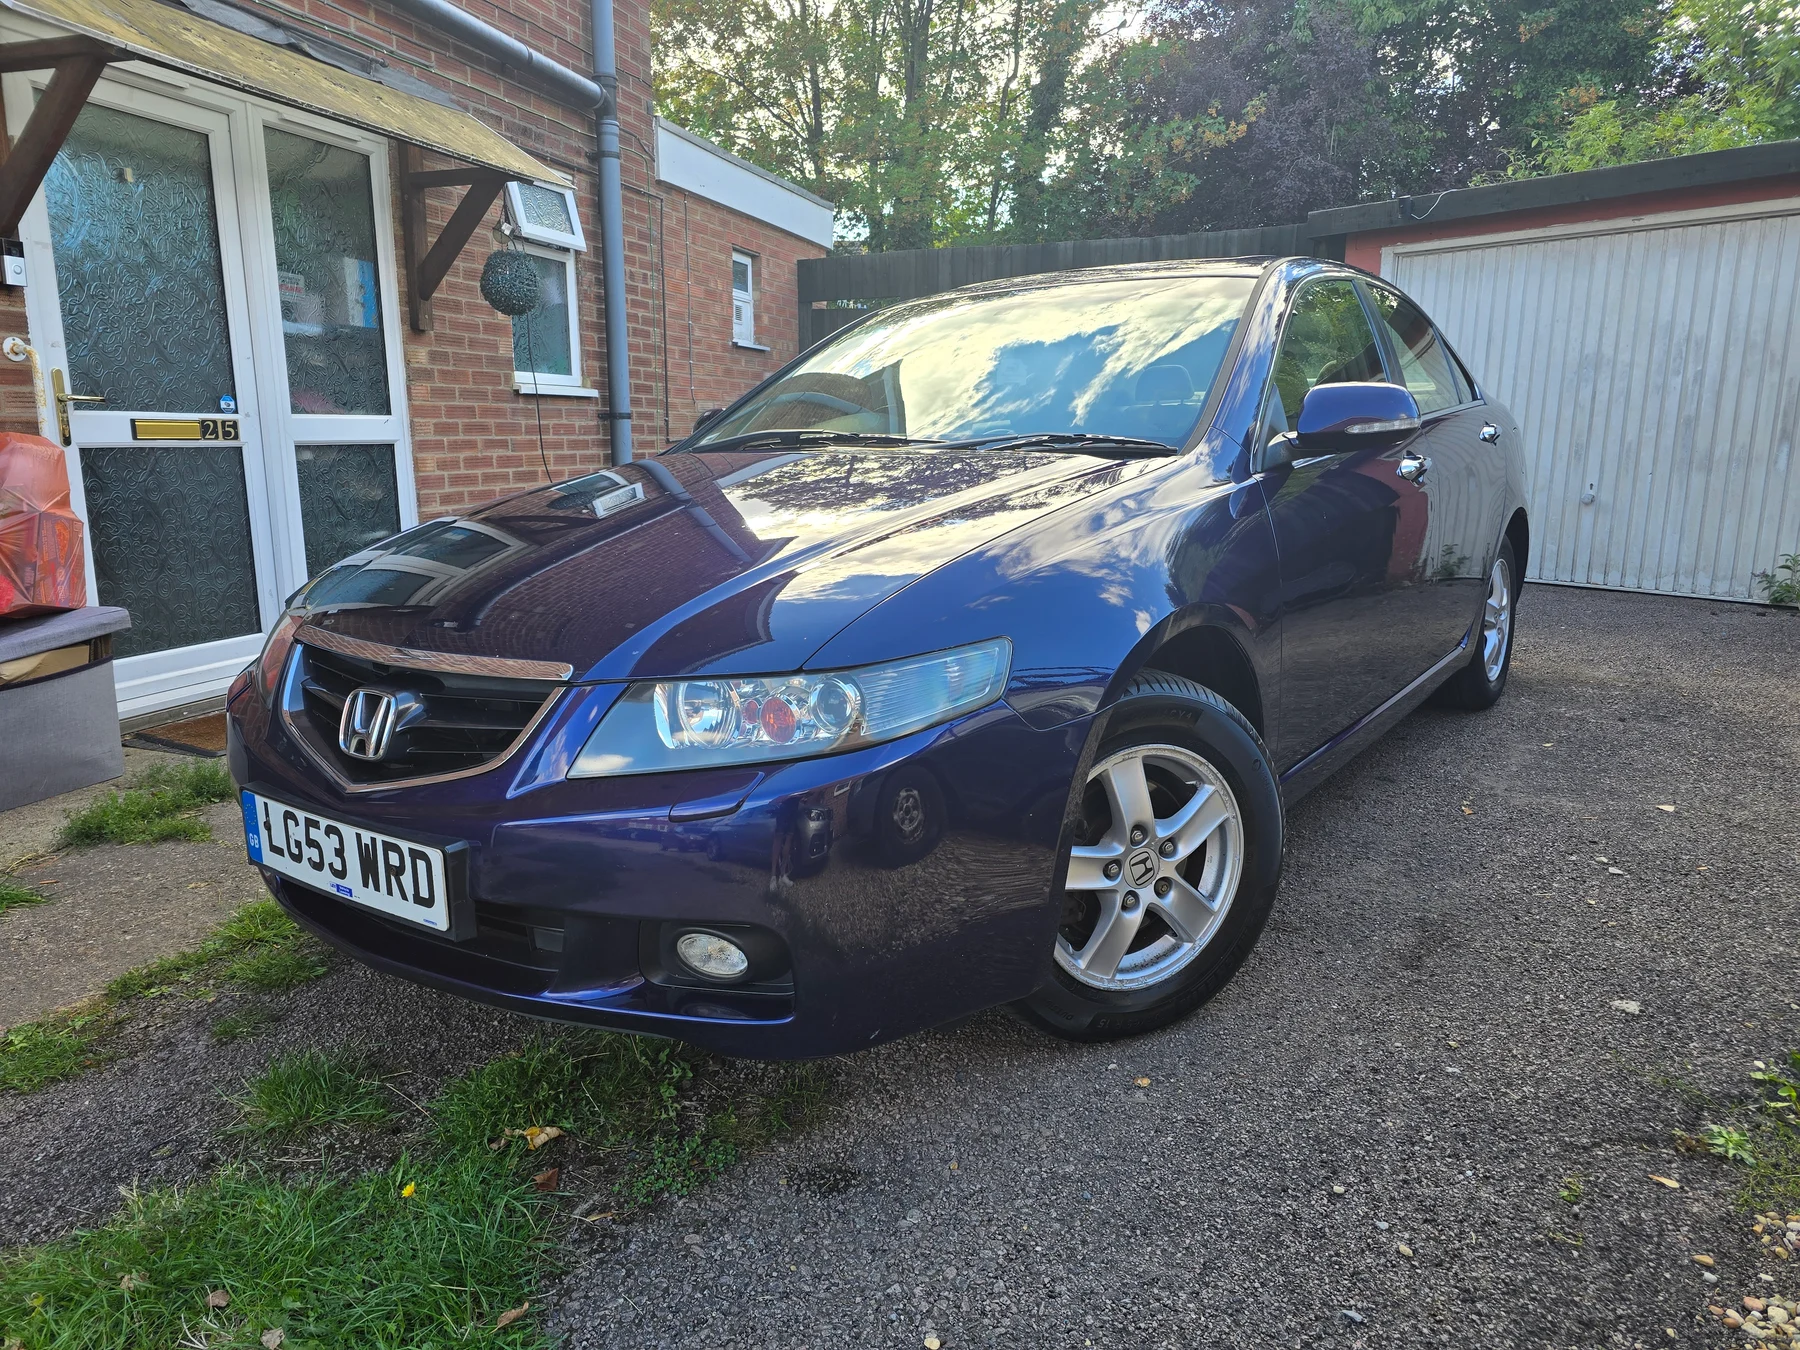
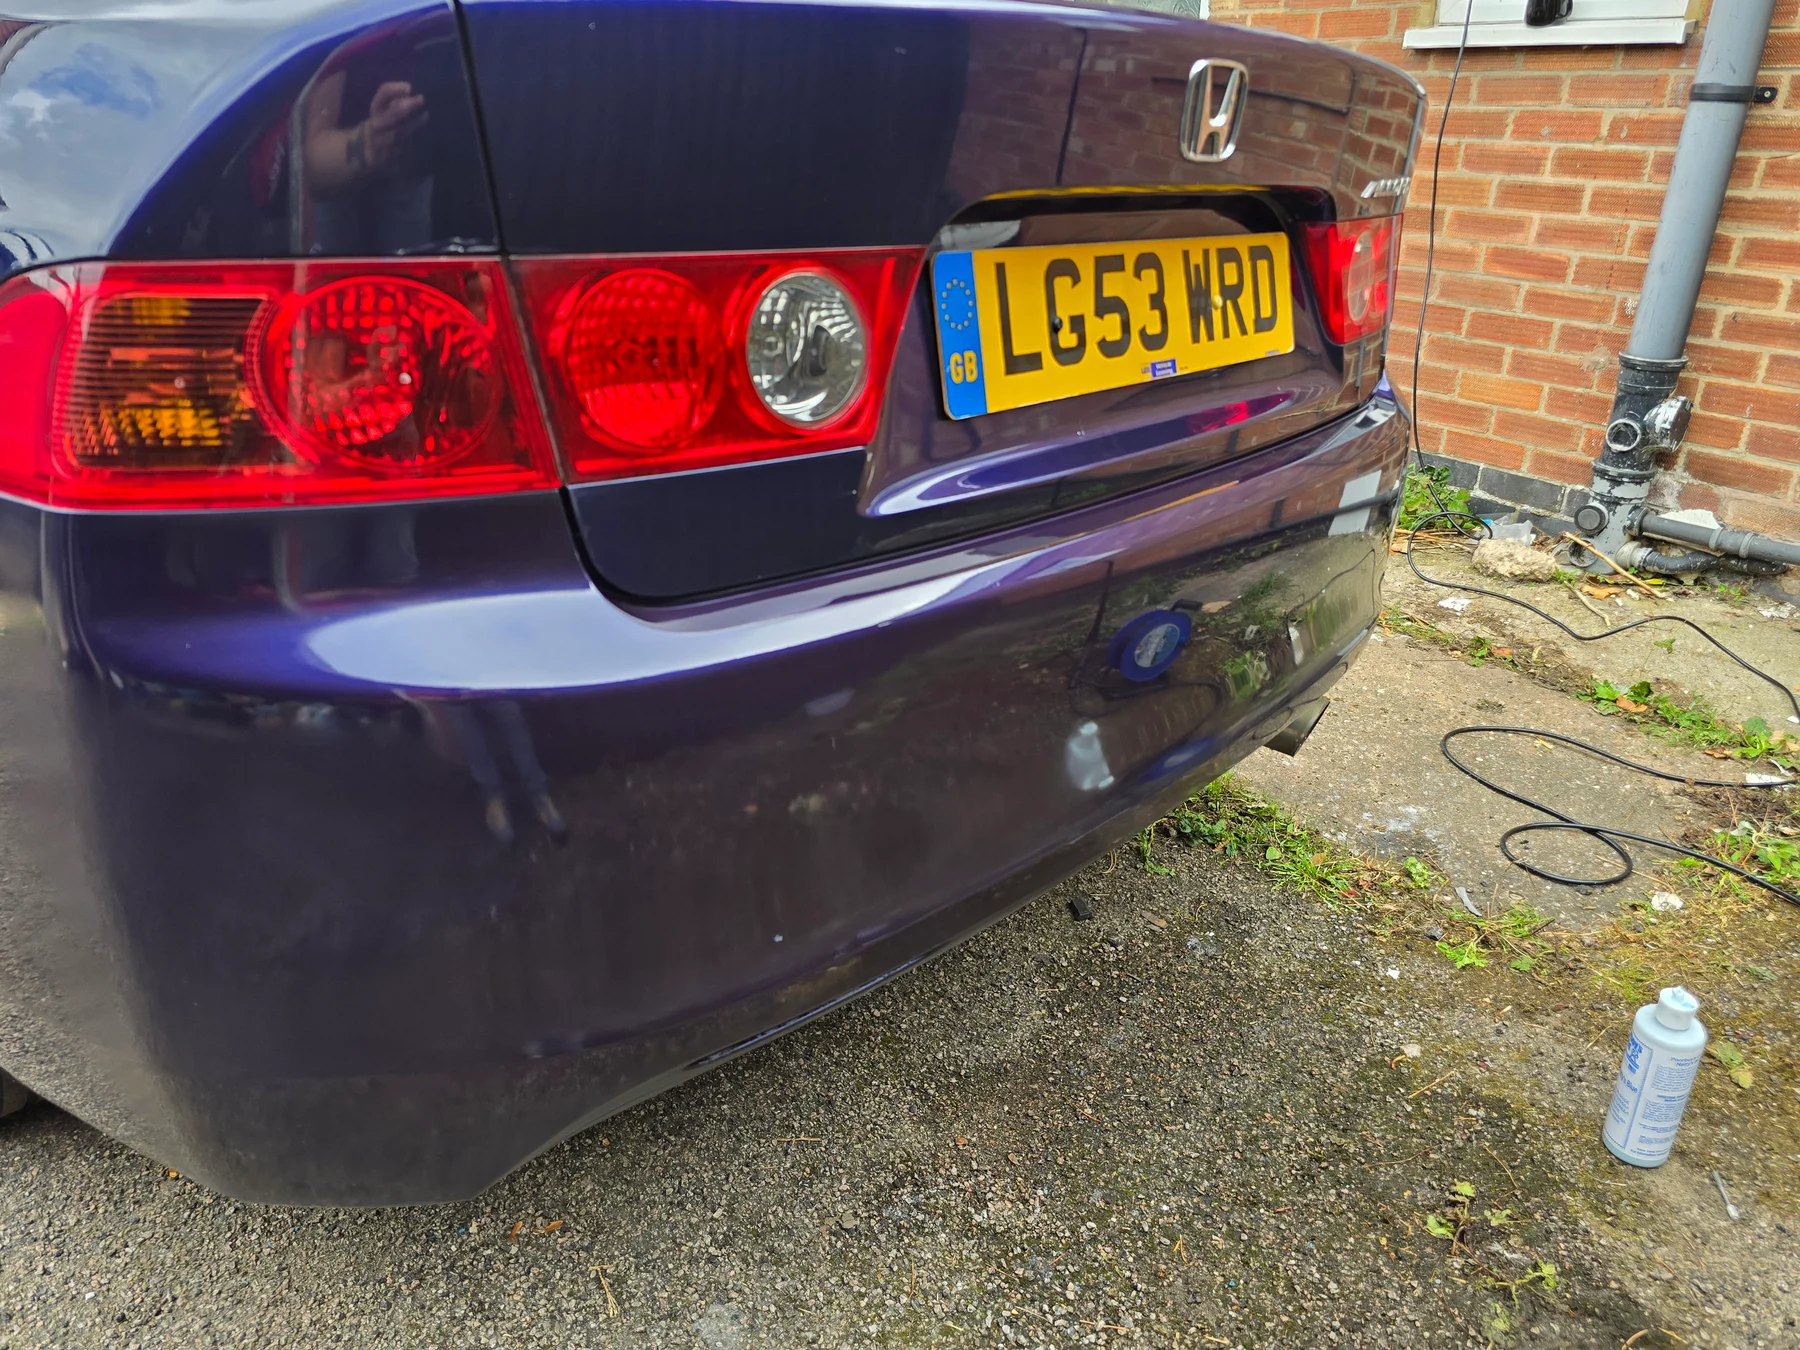
The 2003 Accord is a real example of proportionate work on an older, inexpensive car. Cleaning, machine polishing, selective wet sanding and local repair made a dramatic difference in approximately five hours of total hands-on preparation overall. That’s evidence of one project—not a timetable or recipe for every vehicle.

Local paint repair and whether the spend makes sense
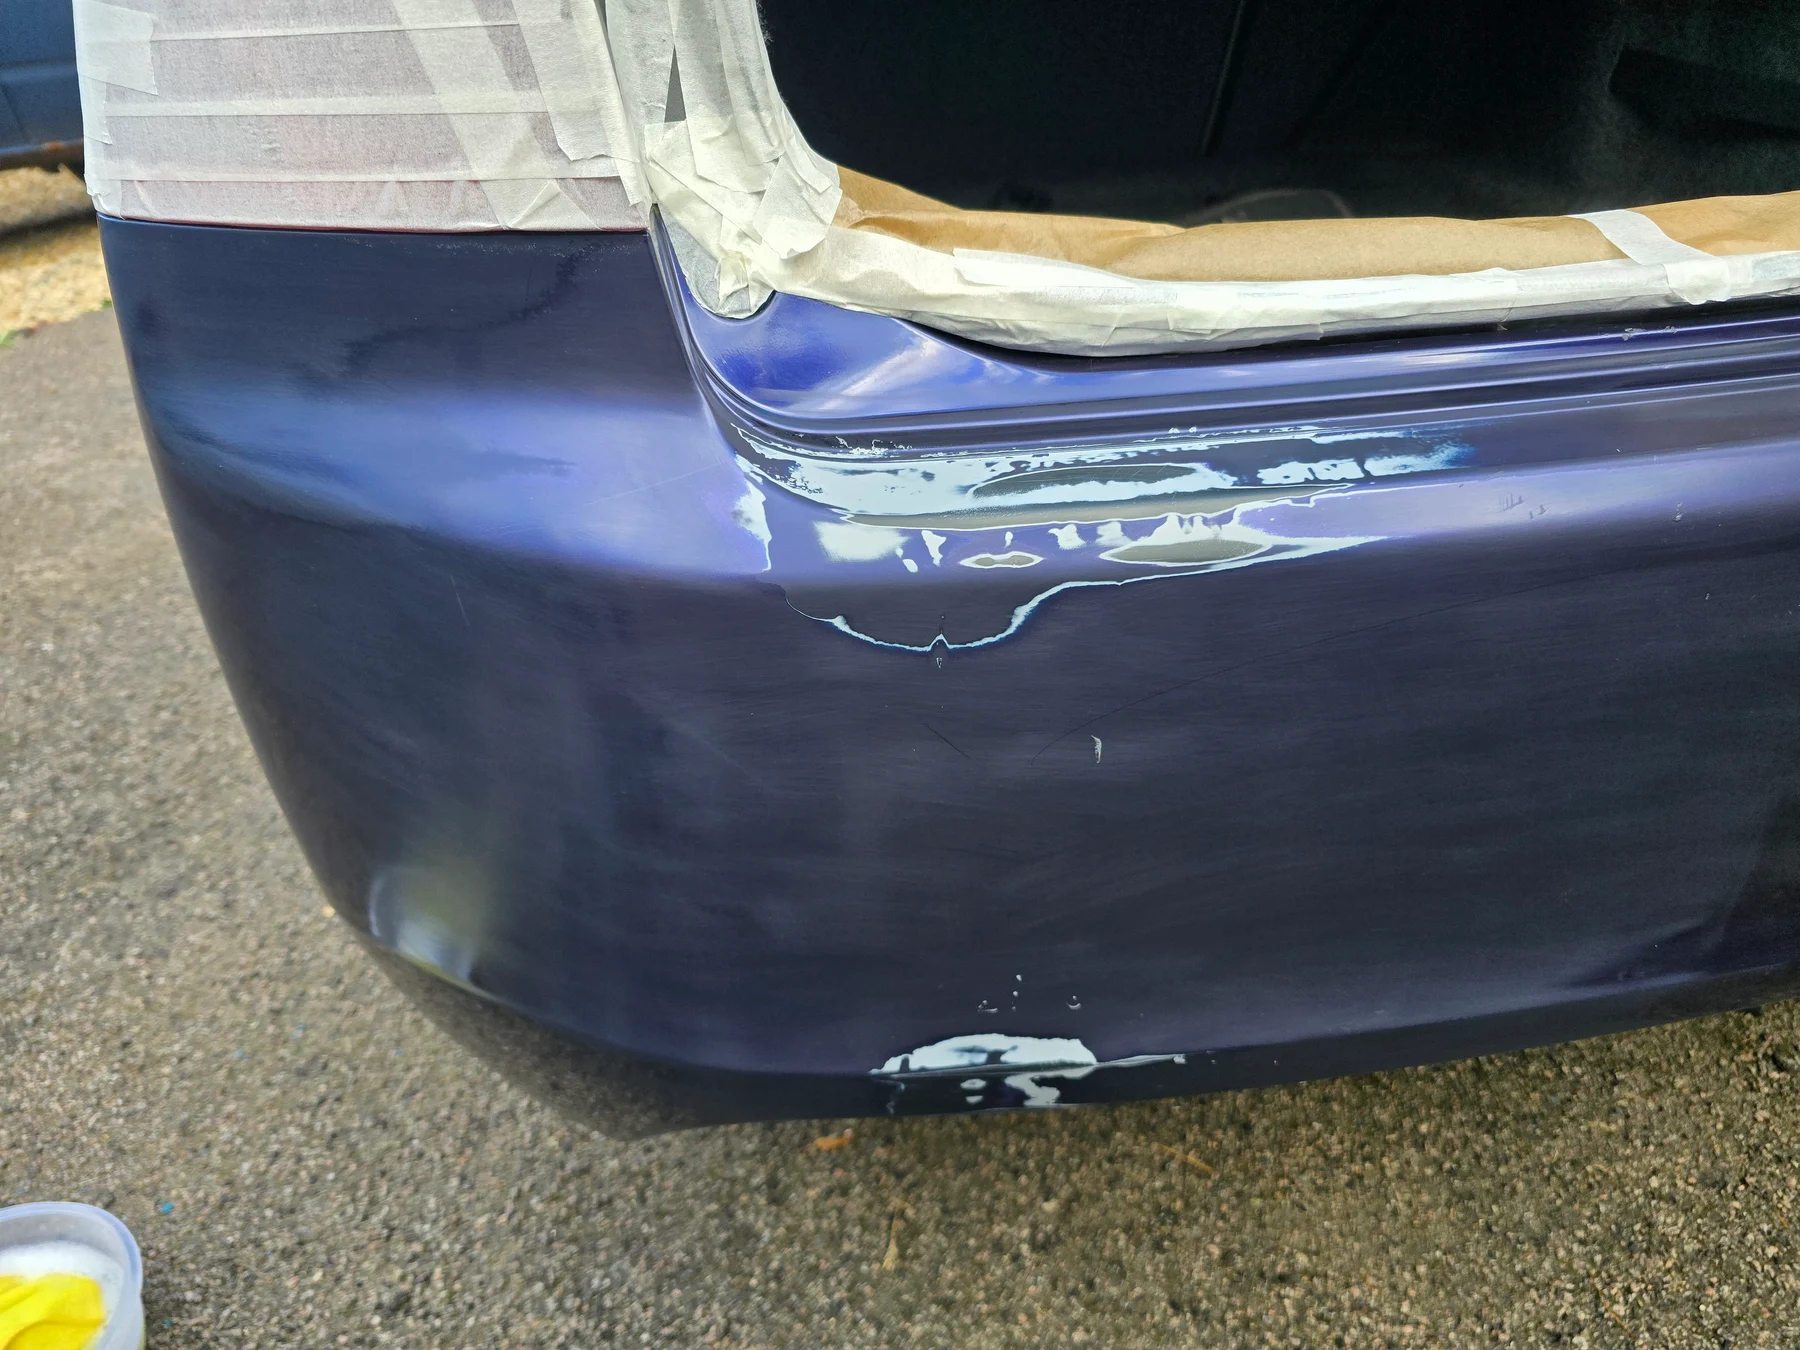
A careful touch-in can protect a small stone chip, and a light-coloured mark may be transferred material sitting on the clearcoat rather than a scratch through it. Clean first and begin with the least aggressive suitable method. Deeper corrosion, major damage, failing clearcoat or a result that needs extensive refinishing is different.
SMART repair can be effective for a suitable localised area, but damage size, location, access, colour, environment and the finish required all matter. The Accord bumper used £61.94 of paint and materials. The work removed a major visual defect, improved presentation and helped make the car easier to advertise; it doesn’t prove the repair itself added a fixed amount to the market value. The completed car sold for £1,400.
Before spending for resale, ask what the job will cost, what the vehicle is worth, whether the defect is genuinely affecting desirability and whether the money could work harder elsewhere. Don’t spend £500 merely to chase a theoretical £500 return. Safety and roadworthiness are different: those defects need appropriate attention regardless of cosmetic payback.
Interior care and odours
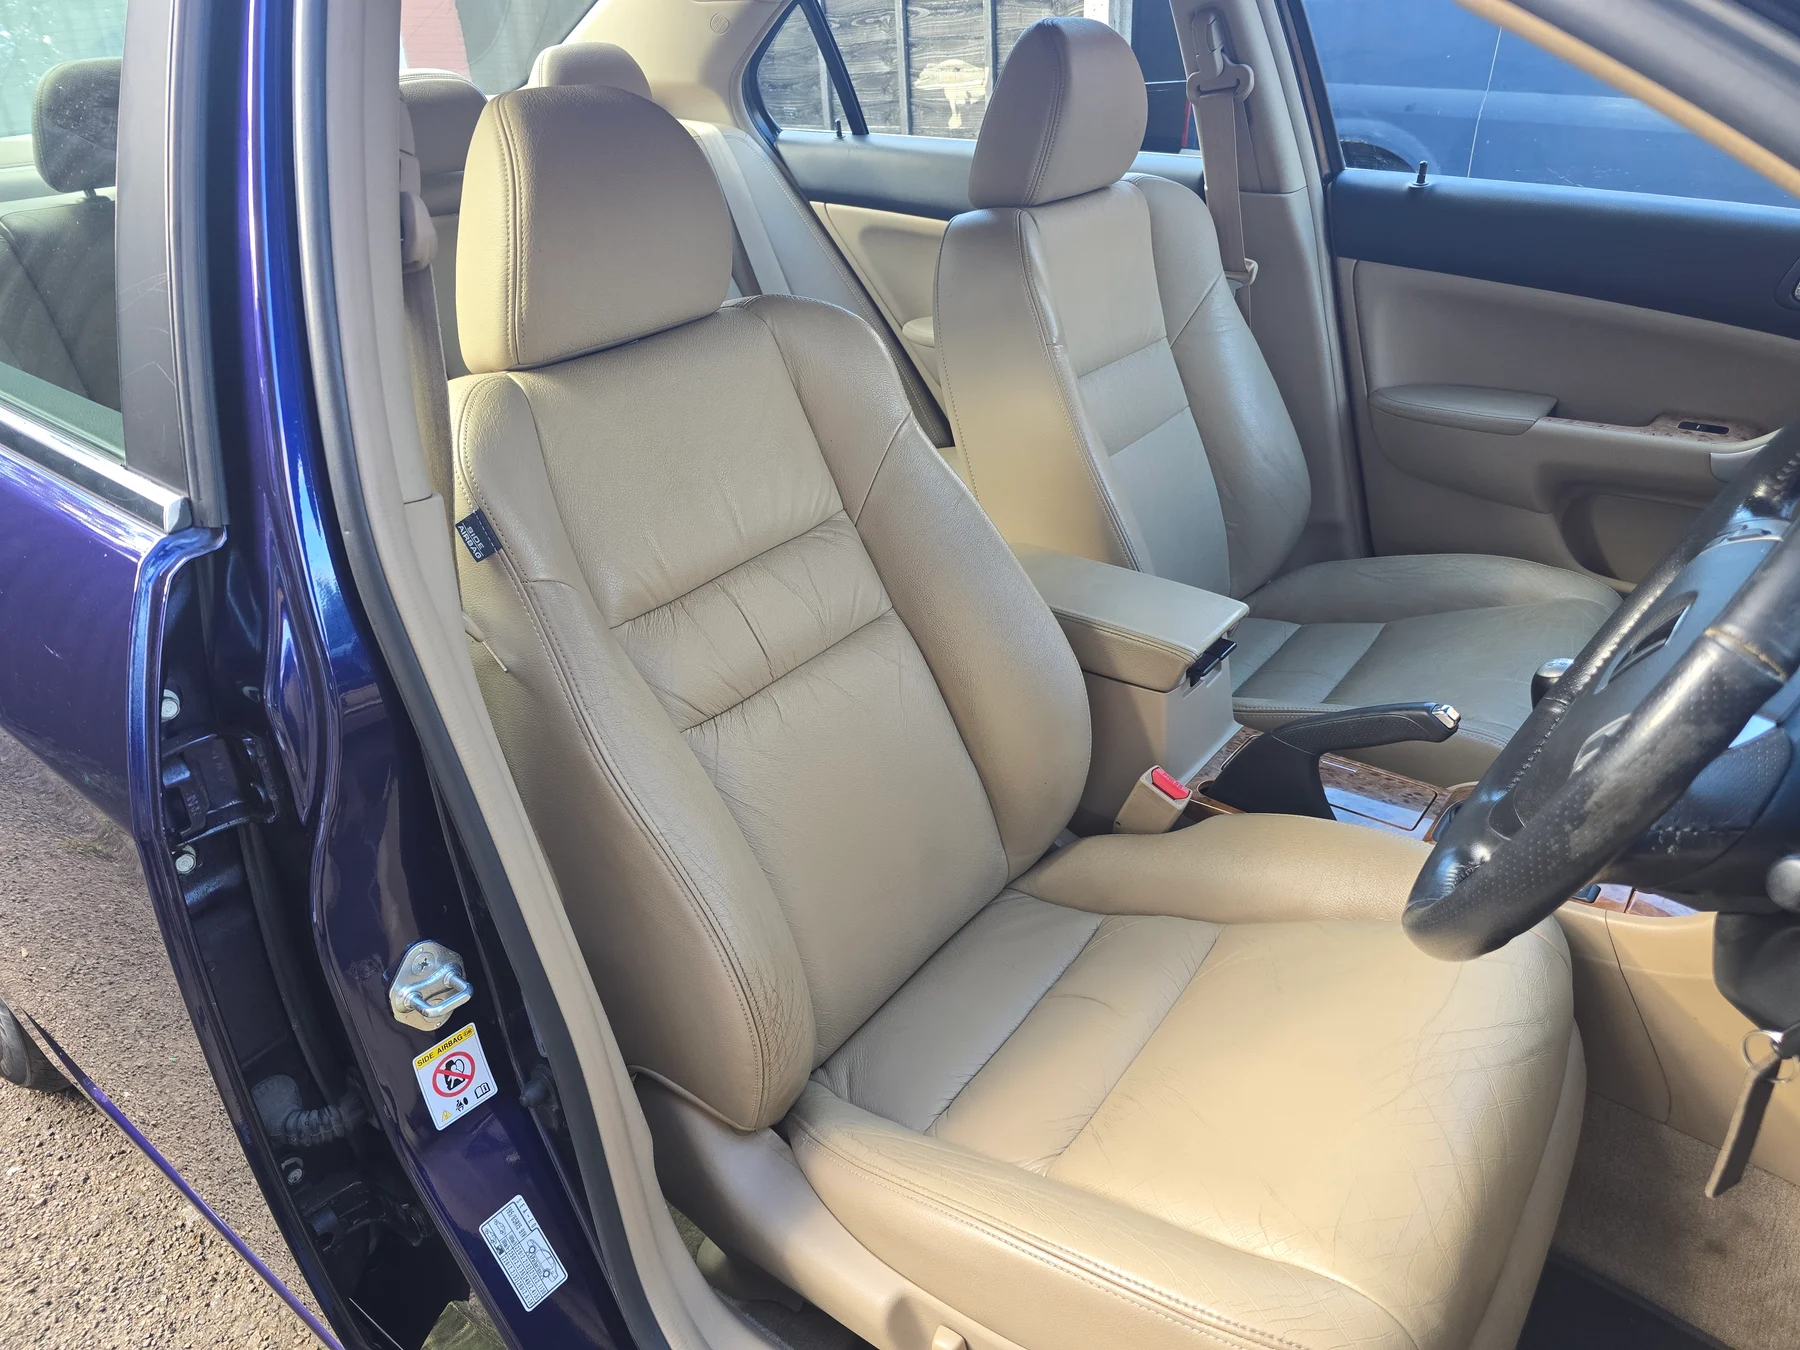
Vacuum the seats, carpets, mats, boot, edges and beneath removable mats, then use cleaners suited to the actual materials. Don’t soak switches or electronics. A rubber-style tool can help lift pet hair, but use it carefully to avoid damaging the carpet fibres.
For odours, remove the source. A cabin treatment or air-con bomb may help when it’s used correctly, but it won’t guarantee the removal of deeply ingrained smoke or pet contamination and it can’t repair an air-conditioning fault.
Air conditioning, wipers and bulbs
A one-shot air-conditioning or cabin aerosol may freshen a stale interior, but it doesn’t recharge refrigerant or repair weak cooling, water ingress or persistent mould. Follow the product’s ventilation and ignition instructions exactly.
One thing people often neglect is checking the wipers before they suddenly need them. Periodically use the washers, make sure the jets work and check that the blades clear the screen properly. Replace blades that smear, judder, miss areas or have split rubber, and protect the windscreen from a spring-loaded bare arm.
Some conventional bulbs remain straightforward owner-maintenance items. Xenon systems, LED units and tightly packaged modern lamps can involve high voltage, integrated components or difficult access, so identify the technology before taking anything apart.
Warning lights and changing behaviour

A warning light is information, not decoration. People often keep driving because the car still seems to behave normally, but if a light appears or the car starts behaving differently, find out why rather than simply getting used to it. The handbook is the best first reference because symbols and required responses vary. Red oil-pressure, temperature, braking or steering warnings can require an immediate safe stop.
You don’t need to dismantle a braking system to notice that something has changed. Grinding, scraping, pulling, vibration, altered pedal feel or a warning message justify prompt competent inspection. Unusual noises, low fluid levels and small leaks are easier and often less expensive to investigate before they become major failures.
Know when not to DIY
Confidence and competence aren’t the same thing, and people have very different levels of ability and experience. I’m supportive of sensible DIY when the job isn’t safety-critical, you’ve researched it, understand the process, have suitable tools and conditions, take your time, stay organised and are comfortable stopping if it goes beyond you.
Cosmetic work can be a good example. The localised paint repair on my Mk2 Scirocco was the first one I’d attempted. I researched the process, used proper colour-matched materials, followed each stage and allowed enough curing time. The result was very good, but I wouldn’t present it as professional bodyshop work.
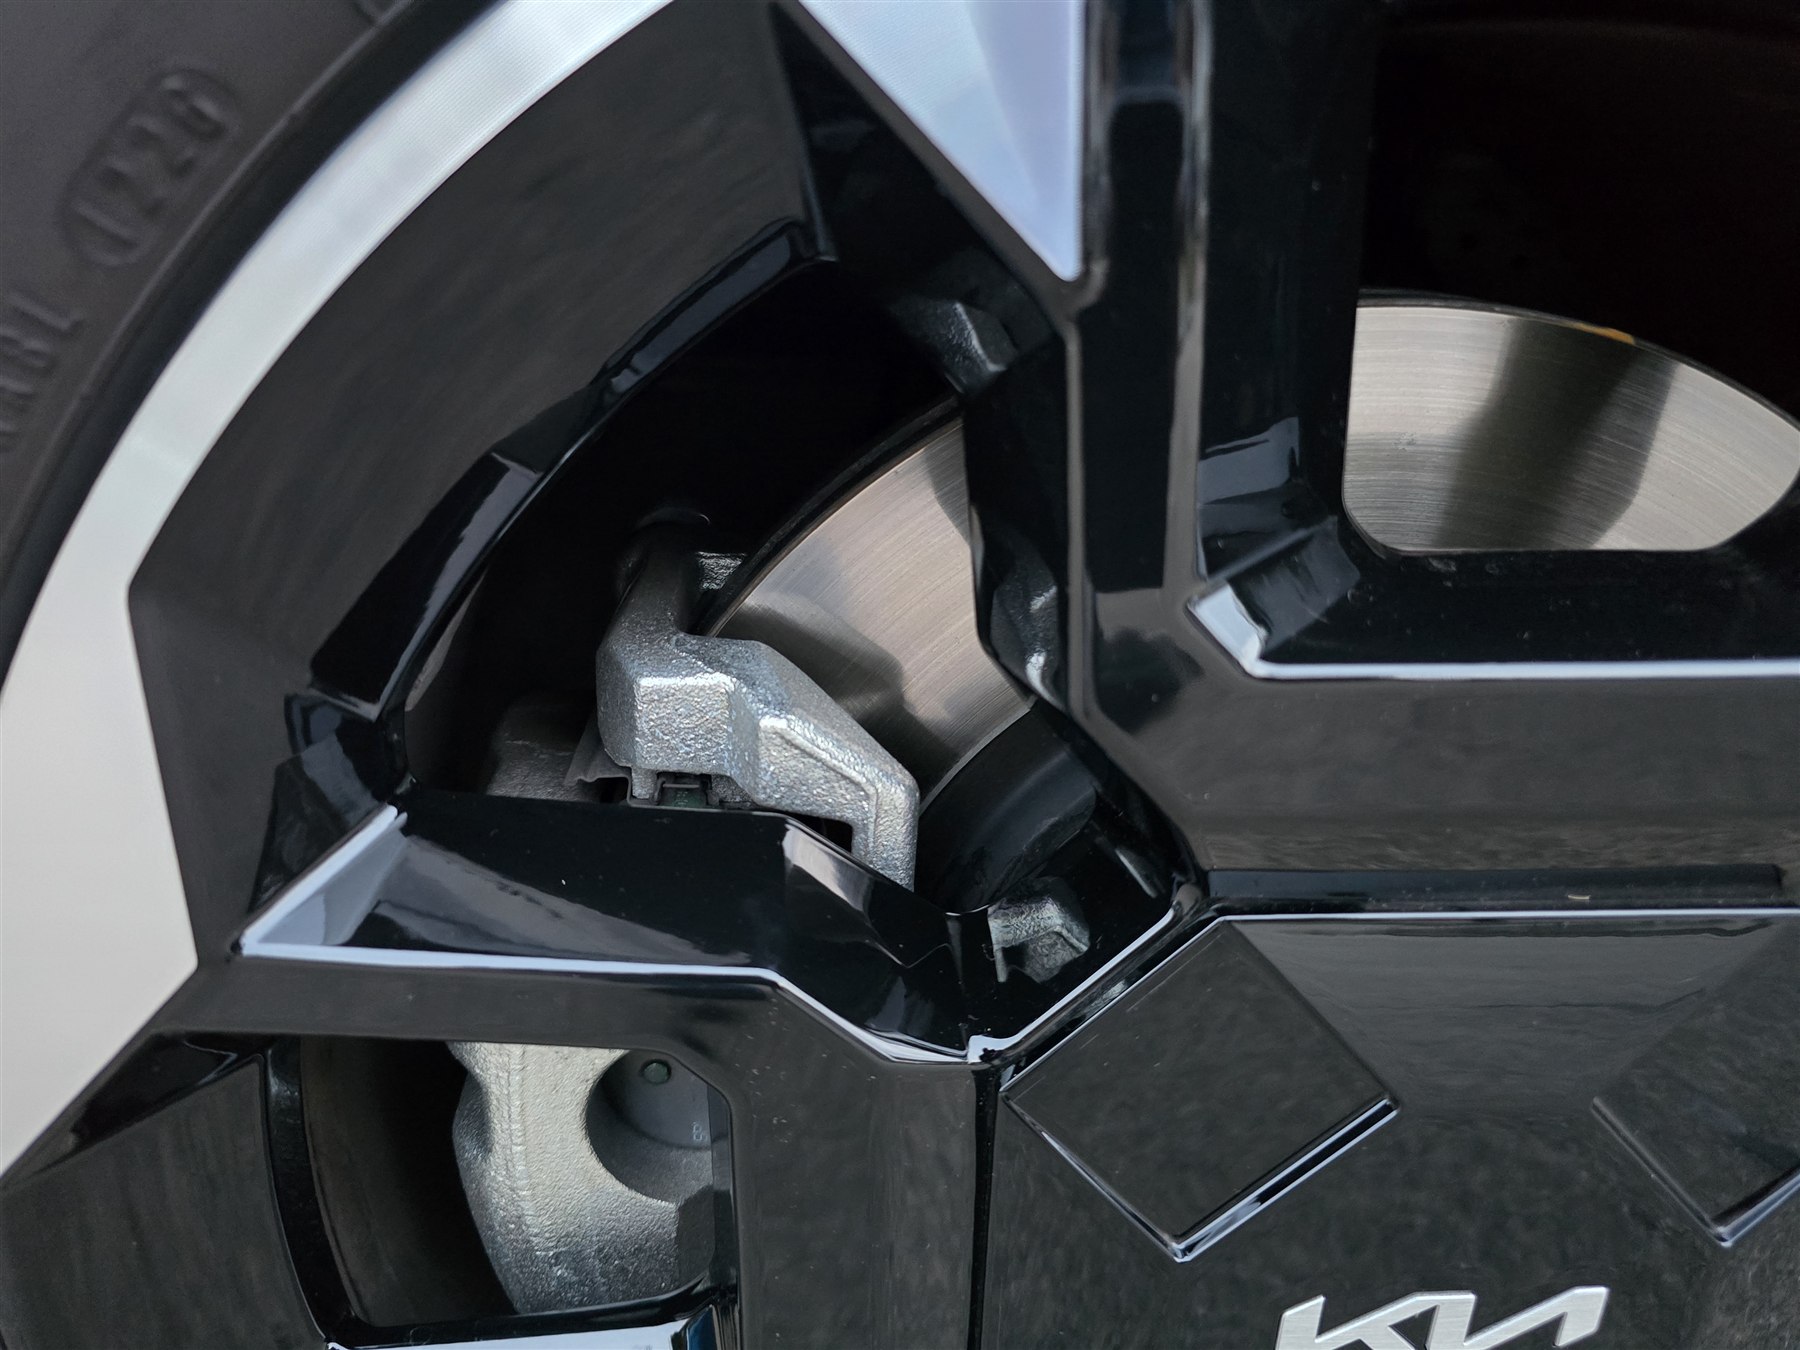
Brakes, suspension, steering, airbags, high-voltage systems and work requiring secure lifting or specialist diagnostics are different. Unless you’re both competent and confident, leave safety-critical repairs to a professional. Getting one wrong can affect you, your passengers and other road users.
What sensible car care actually looks like
A well-cared-for car starts, drives and stops properly, looks looked-after and receives the maintenance it needs. That doesn’t mean it’s free from every mark; it means developing issues are noticed, evidence is retained and safety isn’t postponed.
If money is limited, prioritise roadworthiness, tyres, brakes, essential fluids, warning faults and overdue maintenance before expensive cosmetic work. A glossy car with dangerous tyres isn’t well cared for.
A warning light is information. Don’t clear a code merely to make the dashboard look clean: diagnose the underlying cause, because removing the evidence temporarily doesn’t repair the fault.
There’s no point chasing perfection while ignoring the basics. Keep up with servicing, check the things you can check safely, deal with changes early and know when professional help is the sensible next step.